A power rack is essential for safe training with free weights. Home gyms in particular often consist of a four-piece set of a power rack, barbell, plate, and adjustable bench, and will continue to be the mainstream of muscle training equipment for some time to come.
One thing that always comes up when building a gym is considering the flooring material. We sell rubber mats for gyms, but the following are the two most common questions we receive from prospective buyers.
- I want to place ~, but how many mats do I need?
- In the case of ~, how many millimeters thick should the mat be?
Therefore, in this article, I would like to answer these questions by examining the placement pattern of floor mats when using a power rack.
The rack used to consider the layout this time is a basic 48 inch square (122 cm square).
Some people may use half racks, squat stands, Smith machines, competition benches, etc., but there is not that much difference in the area they occupy.
However, depending on the manufacturer, the design may be larger than usual, so please check the dimensions of the rack you will be using when selecting a mat.
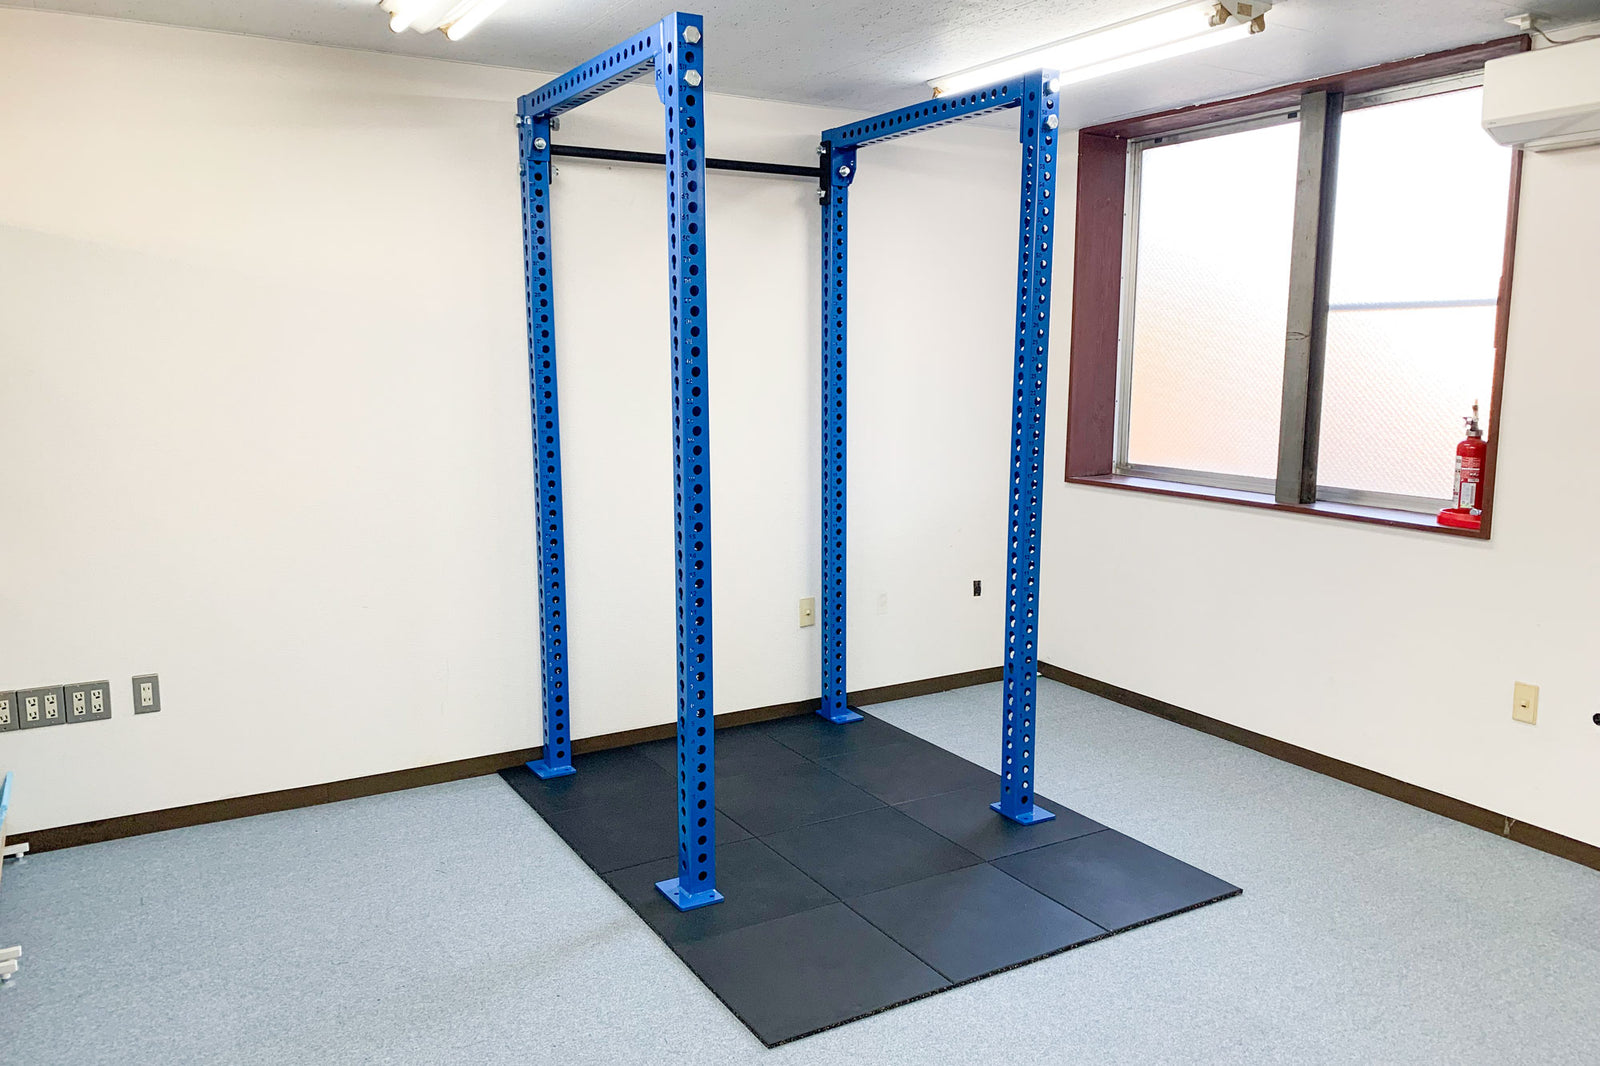
1. Minimum pattern of 4 vertical x 3 horizontal = 12 pieces

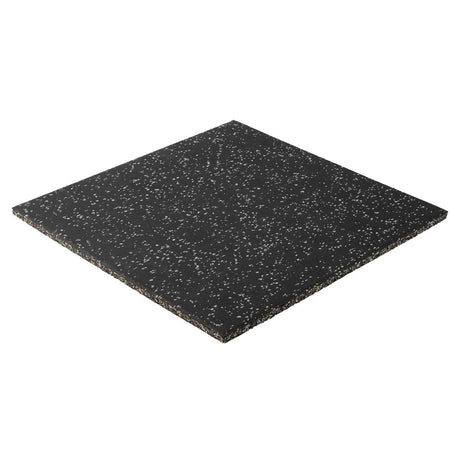
Rubber mat used
These 12 patterns are the minimum required for installing a power rack. This is a layout pattern for those who want to keep costs down.
All training is intended to be done in a power rack, and if you only do bench presses and squats, you can do it in this form. Alternatively, you can use this space to just do dumbbell training using the adjustable bench.

Since there are 3 horizontal tiles and the width is 150cm, if you use a regular Olympic bar, the plate part will protrude from the area of the mat. Therefore, training in which you pull the barbell from the floor such as deadlifts and training in which you drop the barbell such as cleans are not possible.
Also, since the width of the mat is just barely the width of the rack, there is a risk that the rack support may slip off the mat due to some kind of impact. Please understand that this is just a matter of minimizing cost, and install it in the corner of the room in case of an accident.
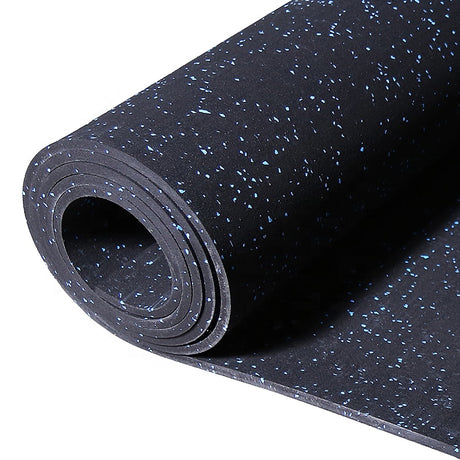
As for the 15mm mat, it is not possible to fix between the tiles, so will it not shift during use? I often get this question. As you can see in the video below, it has a rubber grip, so even if you press down on it a little bit, it won't shift that much.
2. 4 vertical x 4 horizontal = 16 basic patterns

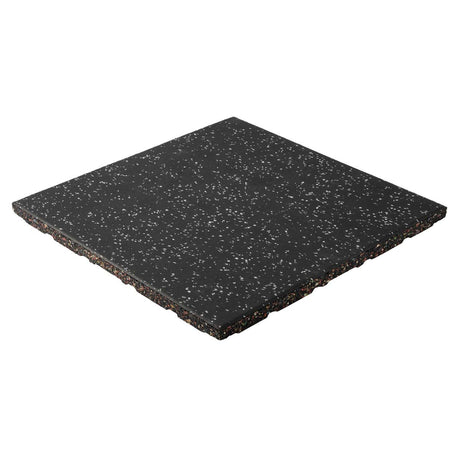
Rubber mat used
This is a 16-piece pattern with more width than the previous one. This is the most basic arrangement and is often seen in actual home gyms and garage gyms.
The depth is 200cm, so it is basically intended for training inside the power rack. However, the width is 200 cm, so if you use a short squat stand, for example, you will have enough space in front, so depending on the environment, you can do things like deadlifts outside the rack.

On the other hand, the space in front of the rack is not at all spacious, making it somewhat inconvenient to move an adjustable bench out of the rack, for example.
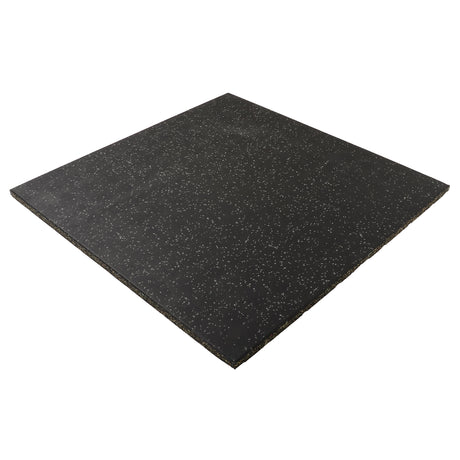
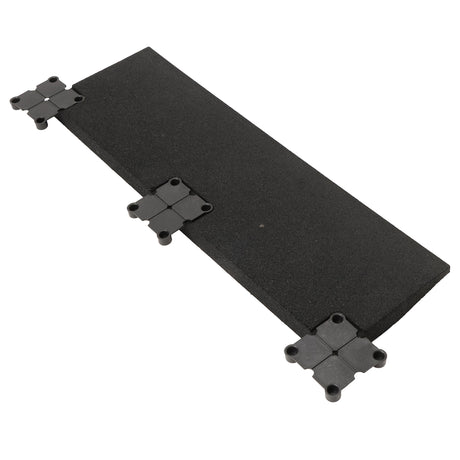
The mat in the photo is 25mm thick and can be secured between the tiles with buckles, so you don't have to worry about the mat shifting.
3. 5 vertical x 4 horizontal = 20 patterns for both inside and outside racks

Rubber mat used
This is a 20-piece pattern with even more depth. This spaciousness allows you to train both inside and outside the power rack.
There is plenty of space in front of the rack, so moving the bench is easy. Although it is a little small, it is possible to do training such as cleans. This size is recommended for those who want to comfortably train without being restricted by different events.

One thing to keep in mind is that the depth of a 6-post type power rack that also includes plate storage can exceed 200cm, making it difficult to secure training space outside the rack.
4. Pattern for both inside and outside racks with 20 sheets + slope that eliminates steps

Rubber mat used
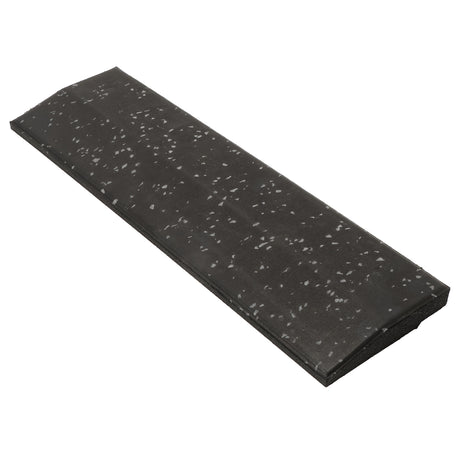
- Gym rubber mat 50cm x 50cm thickness 25mm black x20 sheets
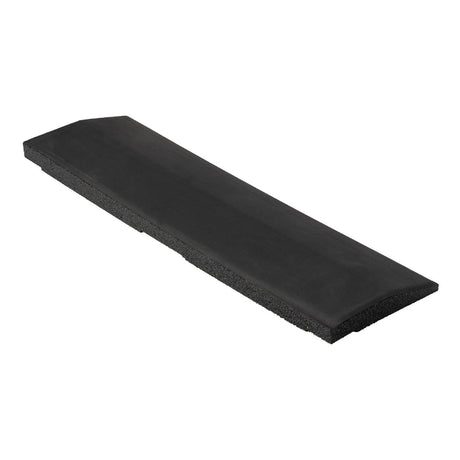
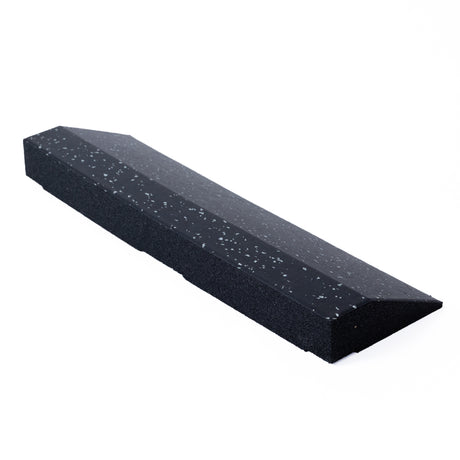
- Step elimination slope for thickness 25mm, black x14 pieces
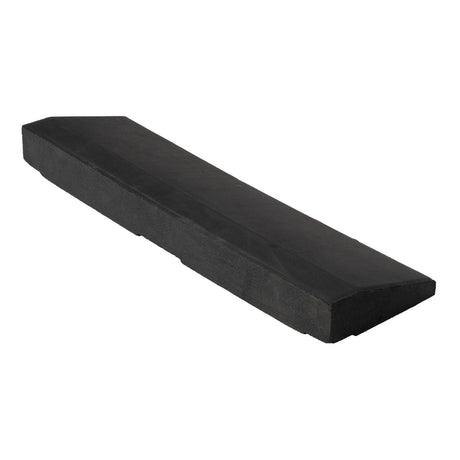
- Corner slope that eliminates steps, for thickness 25mm, black x2 pieces
This is a pattern with a slope to eliminate the difference in level to the 20 pieces from earlier. If you frequently move benches, etc., this slope is convenient. Moreover, it looks beautiful, so it is recommended for those who are particular about the appearance of their gym.

In addition, the rubber chips will peel off from the cross section and scatter, so adding a slope can prevent this from happening.
5. 50mm x4 mix deadlift pattern

Rubber mat used (*Partially different from the photo)
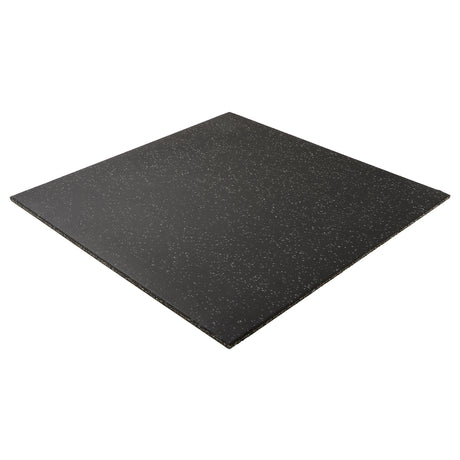
- Rubber mat for gym 50cm x 50cm thickness 25mm black x16 sheets
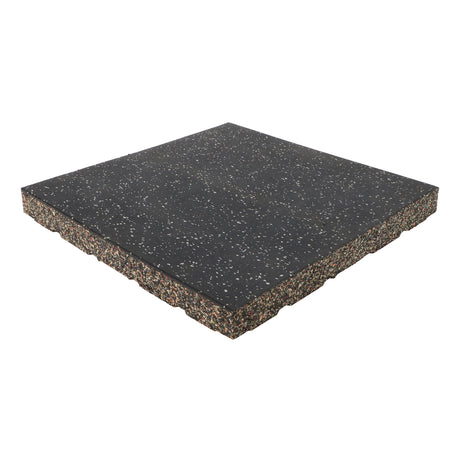
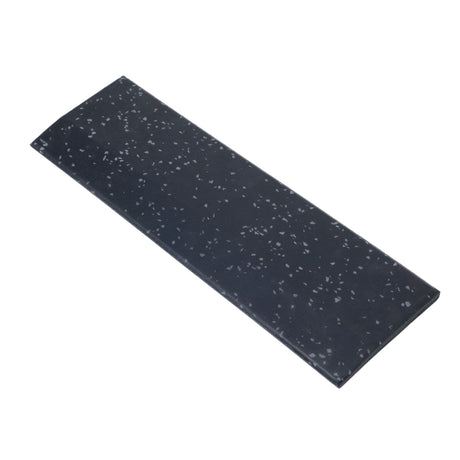
- Gym rubber mat 50cm x 50cm thickness 50mm gray x4
- Step elimination slope for thickness 25mm, black x14 pieces
- Corner slope that eliminates steps, for thickness 25mm, black x2 pieces
This pattern is a mix of four 50mm thick mats for those who want to do floor deadlifts in their home gym or garage gym. There is a big difference in the anti-vibration effect between 25mm and 50mm, so we recommend the 50mm for those who regularly deadlift.
It's a little cramped, and the barbell may roll and fall, so if you have space, you can train more comfortably by using 8 barbells.

Since there is a difference in level, it will be a little inconvenient to move the bench, so if you have the budget, we recommend the platform pattern introduced below.
6. Platform pattern of 50mm x 14 sheets mix

Rubber mat used
- Rubber mat for gym 50cm x 50cm thickness 25mm black x6 pieces
- Rubber mat for gym 50cm x 50cm thickness 50mm gray x14 pieces
- Step elimination slope for thickness 25mm, black x14 pieces
- Corner slope that eliminates steps, for thickness 25mm, black x2 pieces
The last pattern we will introduce is this platform pattern. You can train in and out of the rack, deadlift, and easily move the bench. If you are concerned about the difference in rack height, you can of course make all 20 racks 50mm.
This shape can be implemented by simply replacing the existing tiles, so it is also effective when the tiles are already covered with tiles such as 15mm. Home gym trainee Yu Kihara also uses this form at his own gym.

If you want to further reduce noise during deadlifts and cleans, prepare a slightly larger dumbbell mitt as shown below.

At the end
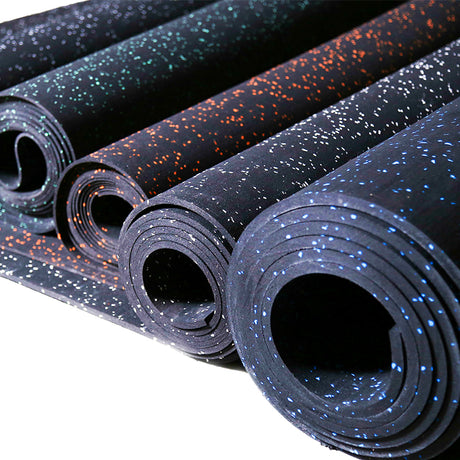
We considered the placement pattern of floor mats when using a power rack. This time, I introduced a width of 12-20 mats to make it easier to understand the number of mats required, but of course there are many people who use tile mats, and if the area is a certain amount of space, you can also use roll mats. .
We hope you will find this article helpful as a hint to avoid making mistakes when choosing a gym mat.
For those who want to learn more about floor reinforcement and the properties of mats, we recommend the following articles.
A thorough explanation of how to choose the floor and mat for your home gym
If you have any questions or concerns, please feel free to contact us via chat or contact form.