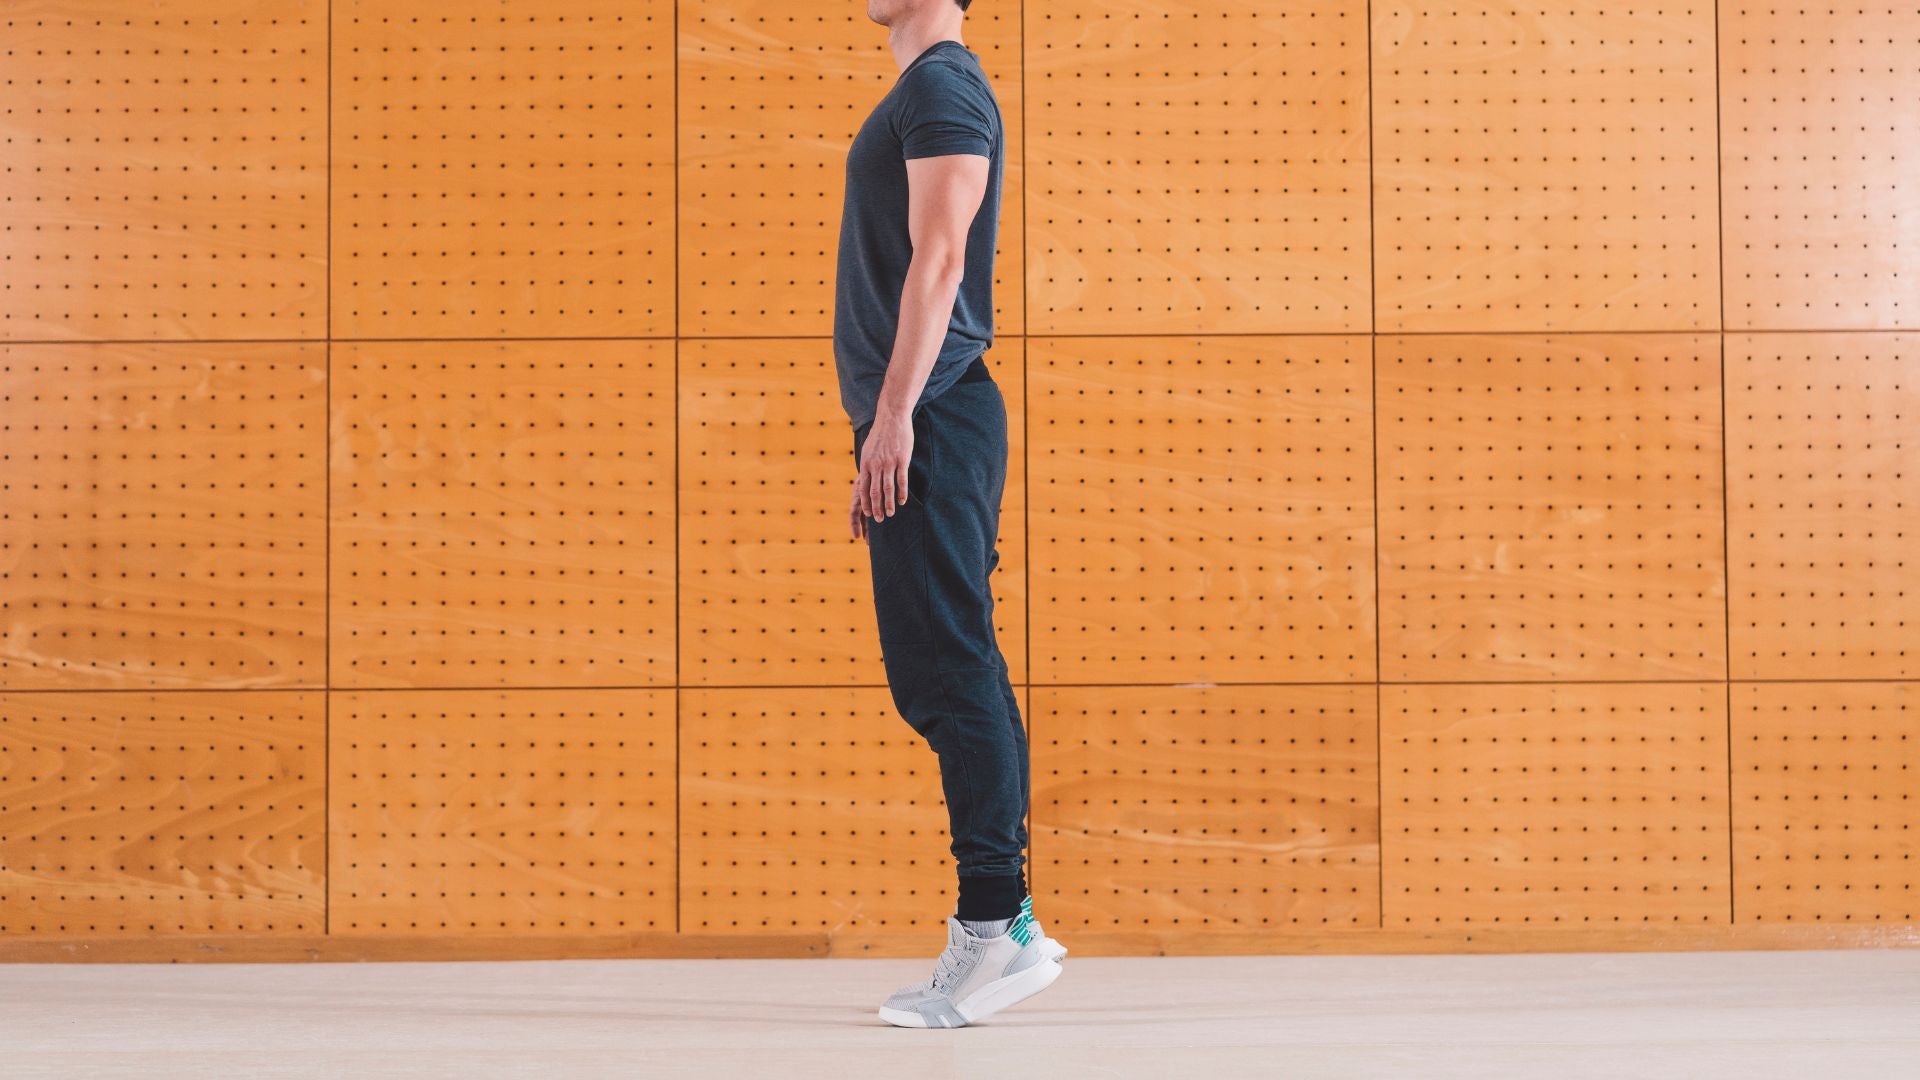
When you want to get in shape at home, it's convenient to be able to train at home without using any equipment. This time, we will explain the menu and methods of training that you can do every day from the upper body to the lower body without any equipment.
- Is training without equipment effective?
- Can I train without dumbbells?
- What kinds of dishes do you recommend?
Get a healthy body with bodyweight training that can be done without any equipment or dumbbells!
What are some easy exercises you can do at home without any equipment?
Muscle training that does not use training equipment is called bodyweight training. It is perfectly possible to train your body with bodyweight training. The intensity per session is lower than with weight training that uses equipment, but the burden on the body is also lighter.
To achieve the same results with bodyweight training as with weight training, you will need to extend the training time or increase the number of repetitions.
At-home lower body strength training
If you are looking for a way to build muscle at home, we recommend that you start by strengthening your lower body. Strengthening your legs and hips will improve your overall appearance. In addition, since large muscles are concentrated in the lower body, it is also effective in promoting blood circulation and metabolism.
For example, we will introduce easy meals that even high school students who find it difficult to install equipment at home can follow.
Squat training menu
We will start by introducing variations on squats, a typical indoor exercise. These exercises are popular among people of all ages and genders because they can be easily done in the comfort of your own home.
Workout 1: Squats
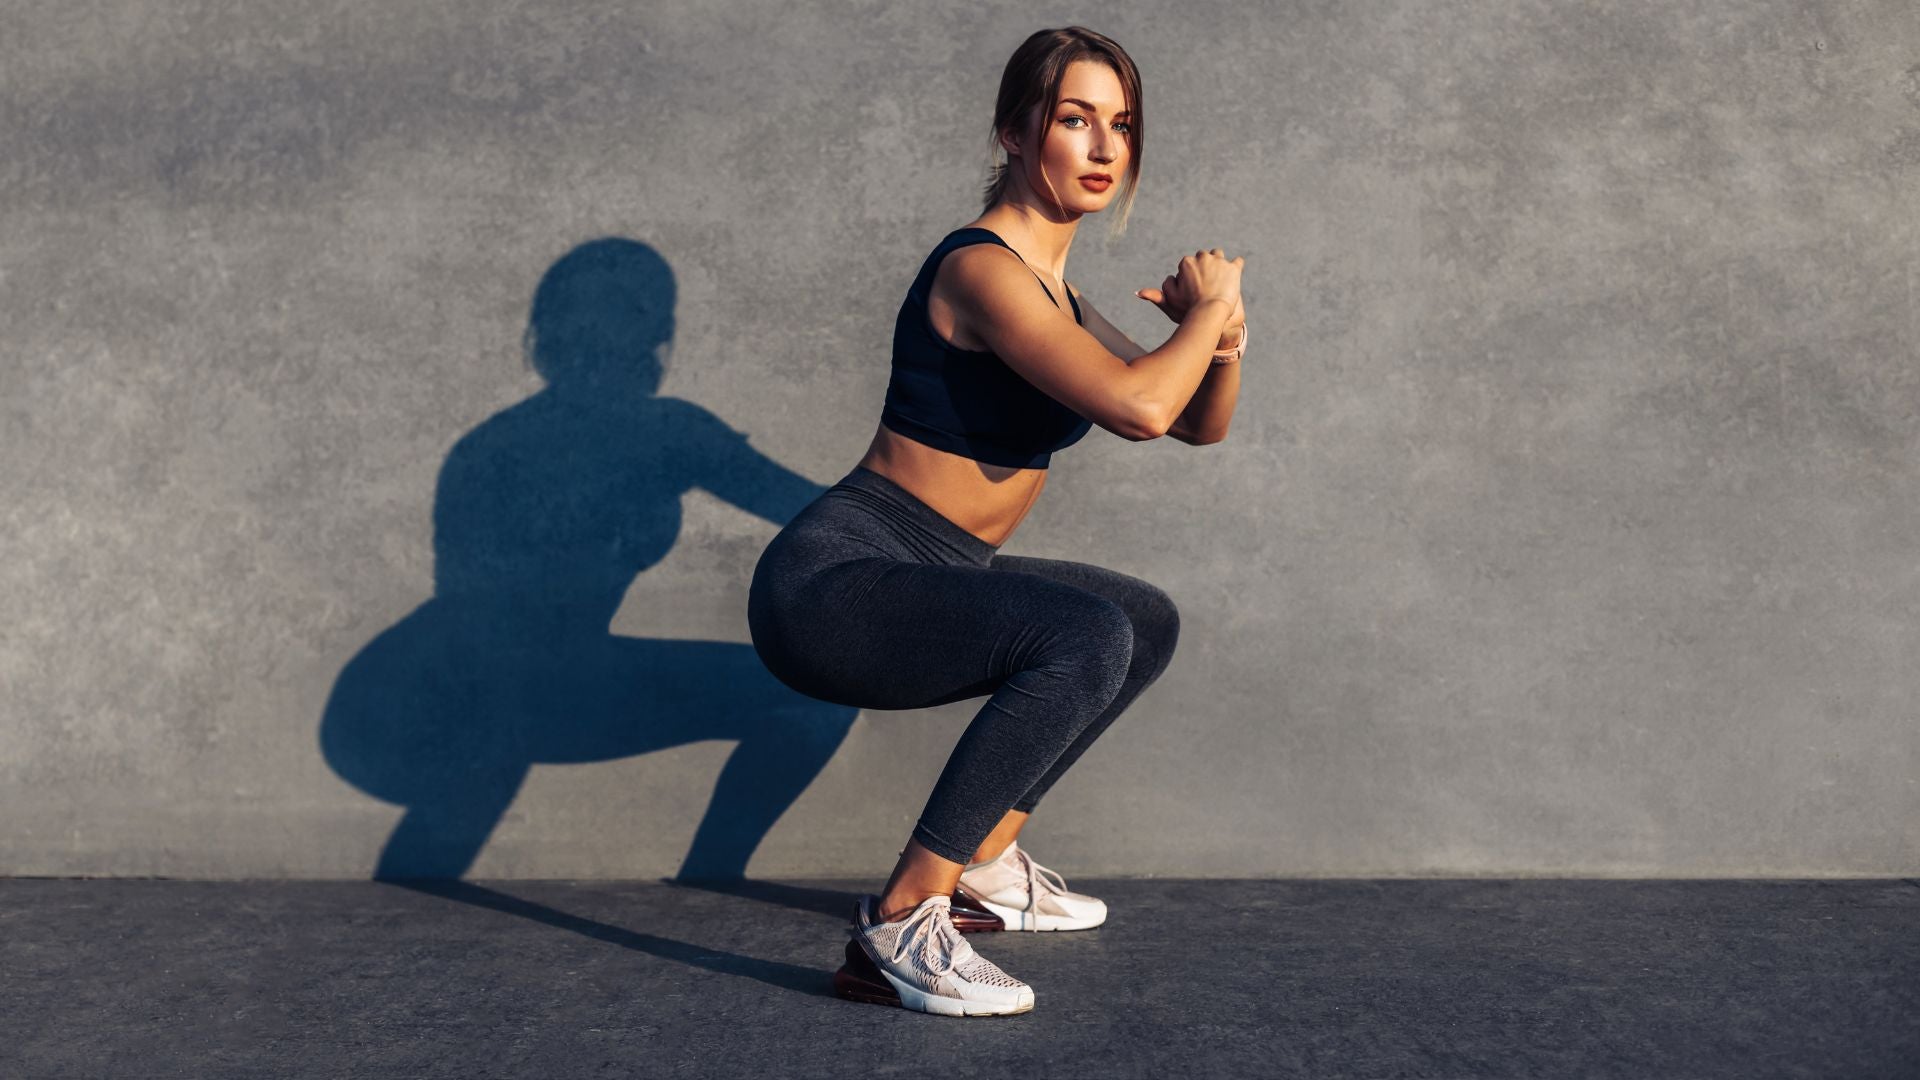
Squats are a basic exercise for strengthening your legs and hips. Stand with your feet shoulder-width apart and your toes pointing outward slightly. Keep your back straight and push your hips back as you slowly lower yourself down.
The key is to move your knees in the direction of your toes. Be careful not to let your knees go beyond your toes. After lowering yourself deeply, use your strength to stand up. Breathe in when lowering your body and exhale when rising to stabilize yourself. This is a menu that can effectively train the muscles of your thighs and buttocks.
Workout #2: Wide squats
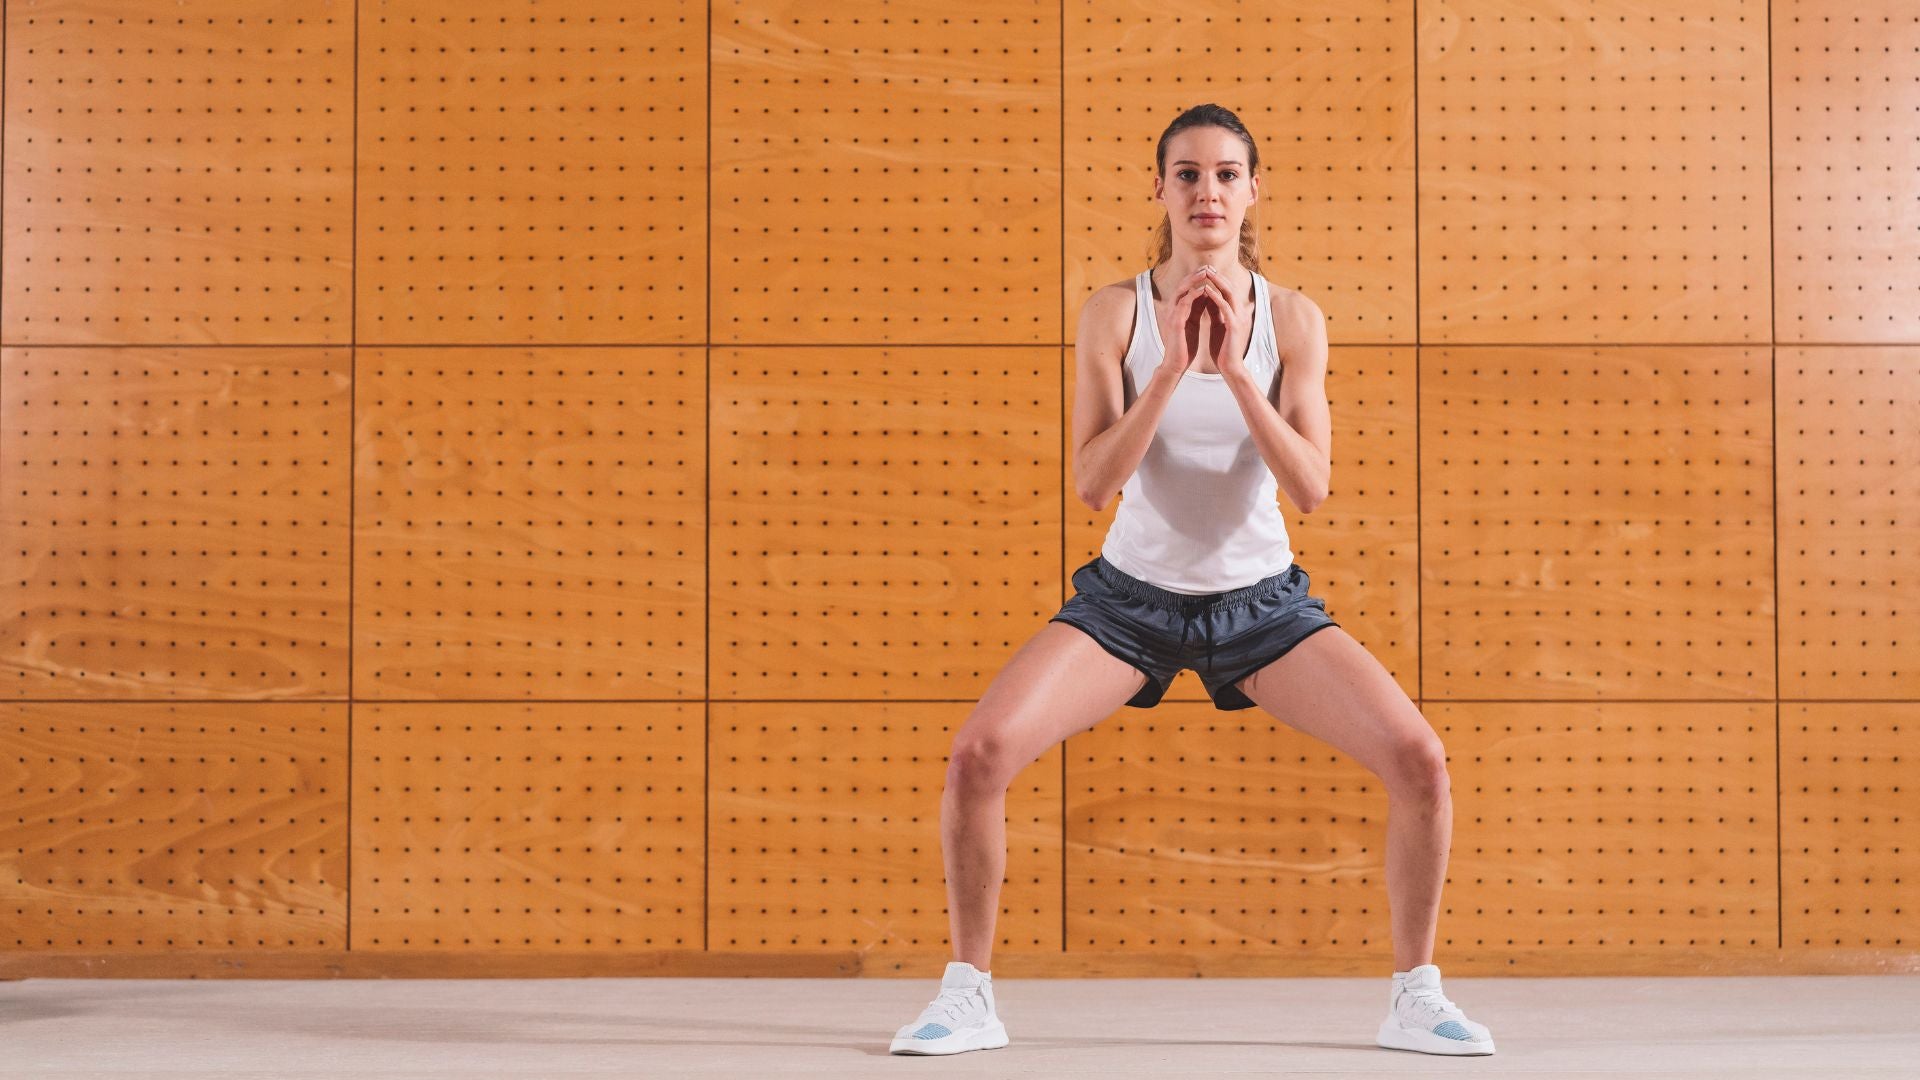
Wide squats are a workout for the inner thigh and butt muscles. Stand with your feet wider than shoulder width apart and your toes pointing outward. Keeping your back straight, push your butt back and slowly lower your hips.
Be careful not to let your knees go over your toes, and it is important that your knees point in the same direction as your toes. Pause for a moment at the lowest position, then push yourself back up to the starting position.
It will be easier to maintain rhythm if you inhale when you come down and exhale when you come up.
Workout 3: Small squats
Sumo squats are effective for strengthening the inner thighs and glutes. Spread your legs wider than in wide squats and point your toes outward. Spread your feet fairly wide and set them so that your toes point outward at a 45-degree angle. Keep your back straight and lower your hips while pulling your hips back. Be careful not to let your knees go beyond your toes, and be aware that your knees are also pointing in the direction of your toes. Pause briefly at the lowest point and then forcefully stand up while straightening your knees.
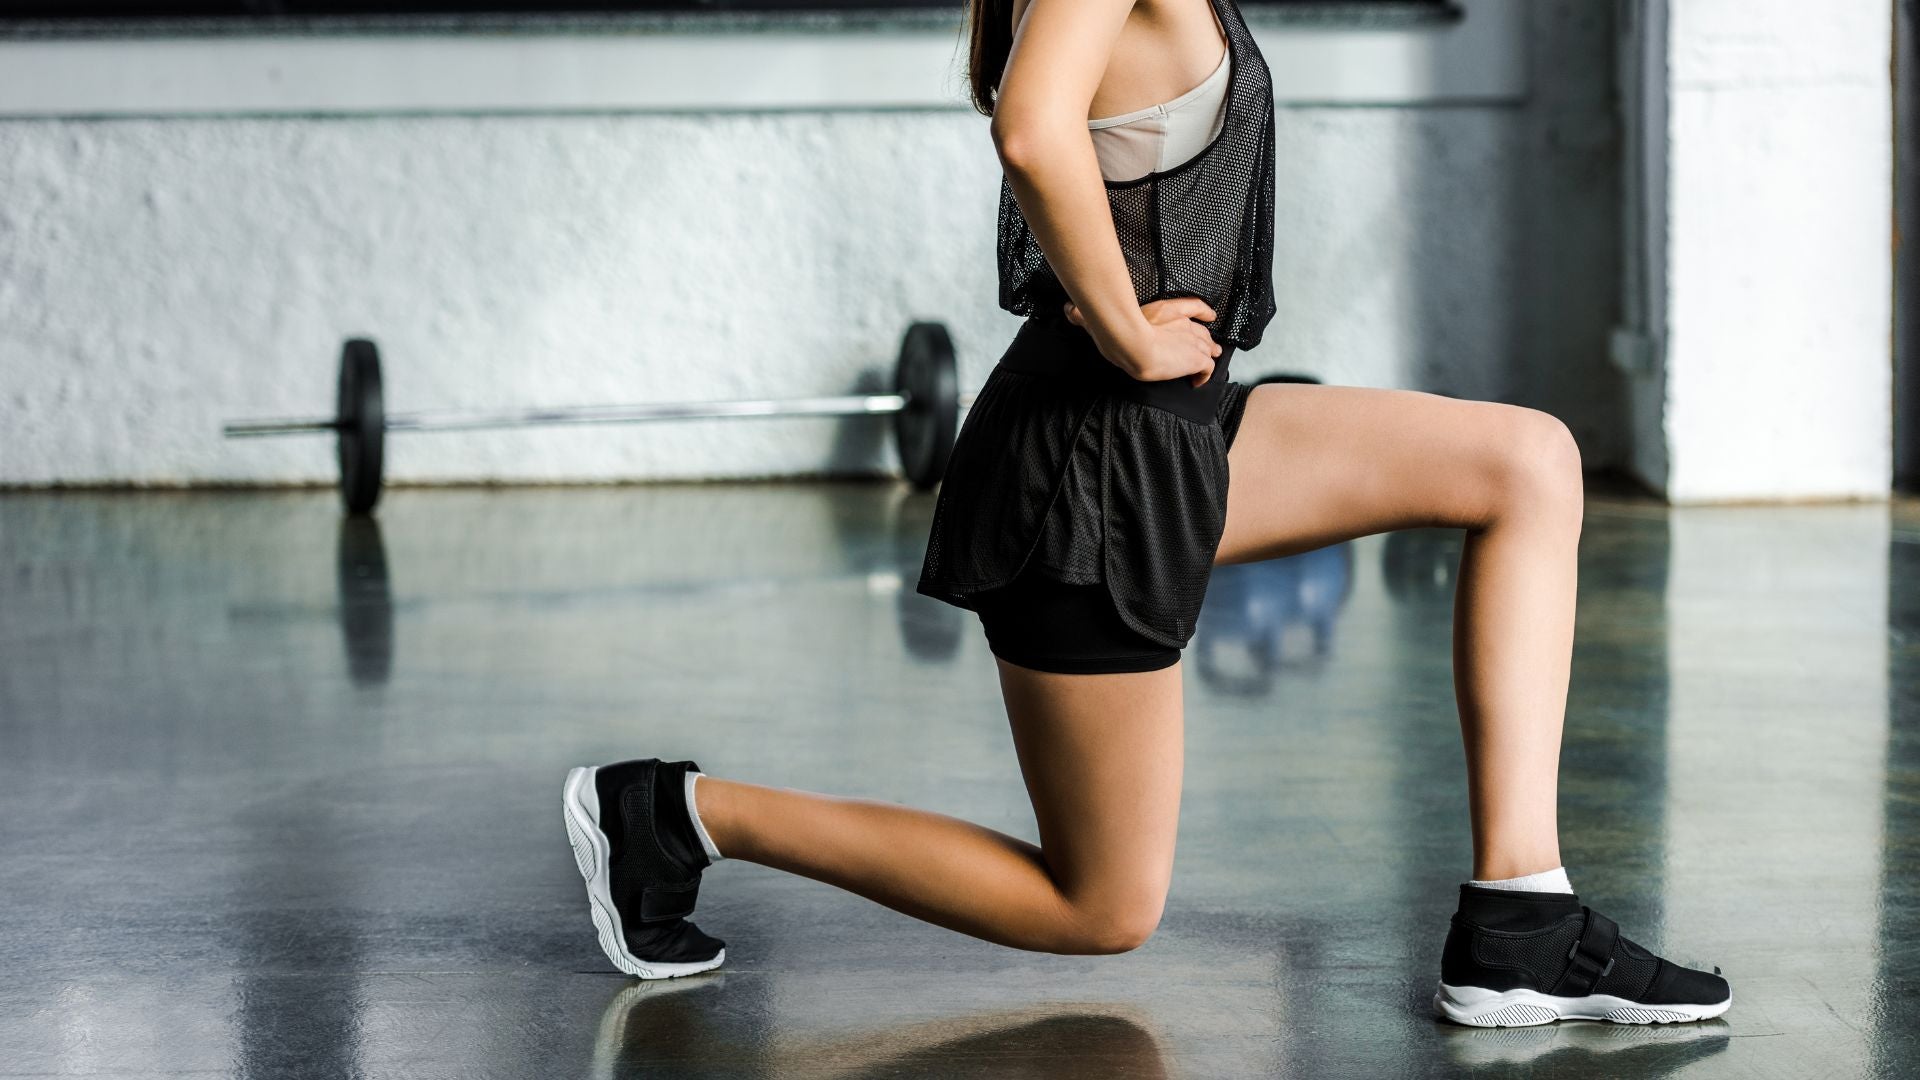
Workout #4: Split squats
Split squats are exercises that train the muscles of one leg at a time. First, take a big step forward and stand. Stand with your back straight and slowly lower your back knee toward the floor, making sure that your front knee does not go beyond your toes.
Lower your front leg until your thigh is parallel to the floor. Press into the heel of your front leg as you stand up to work the muscles more effectively. If you're having trouble balancing, you can use a wall or chair for support.
Workout #5: Wall squats
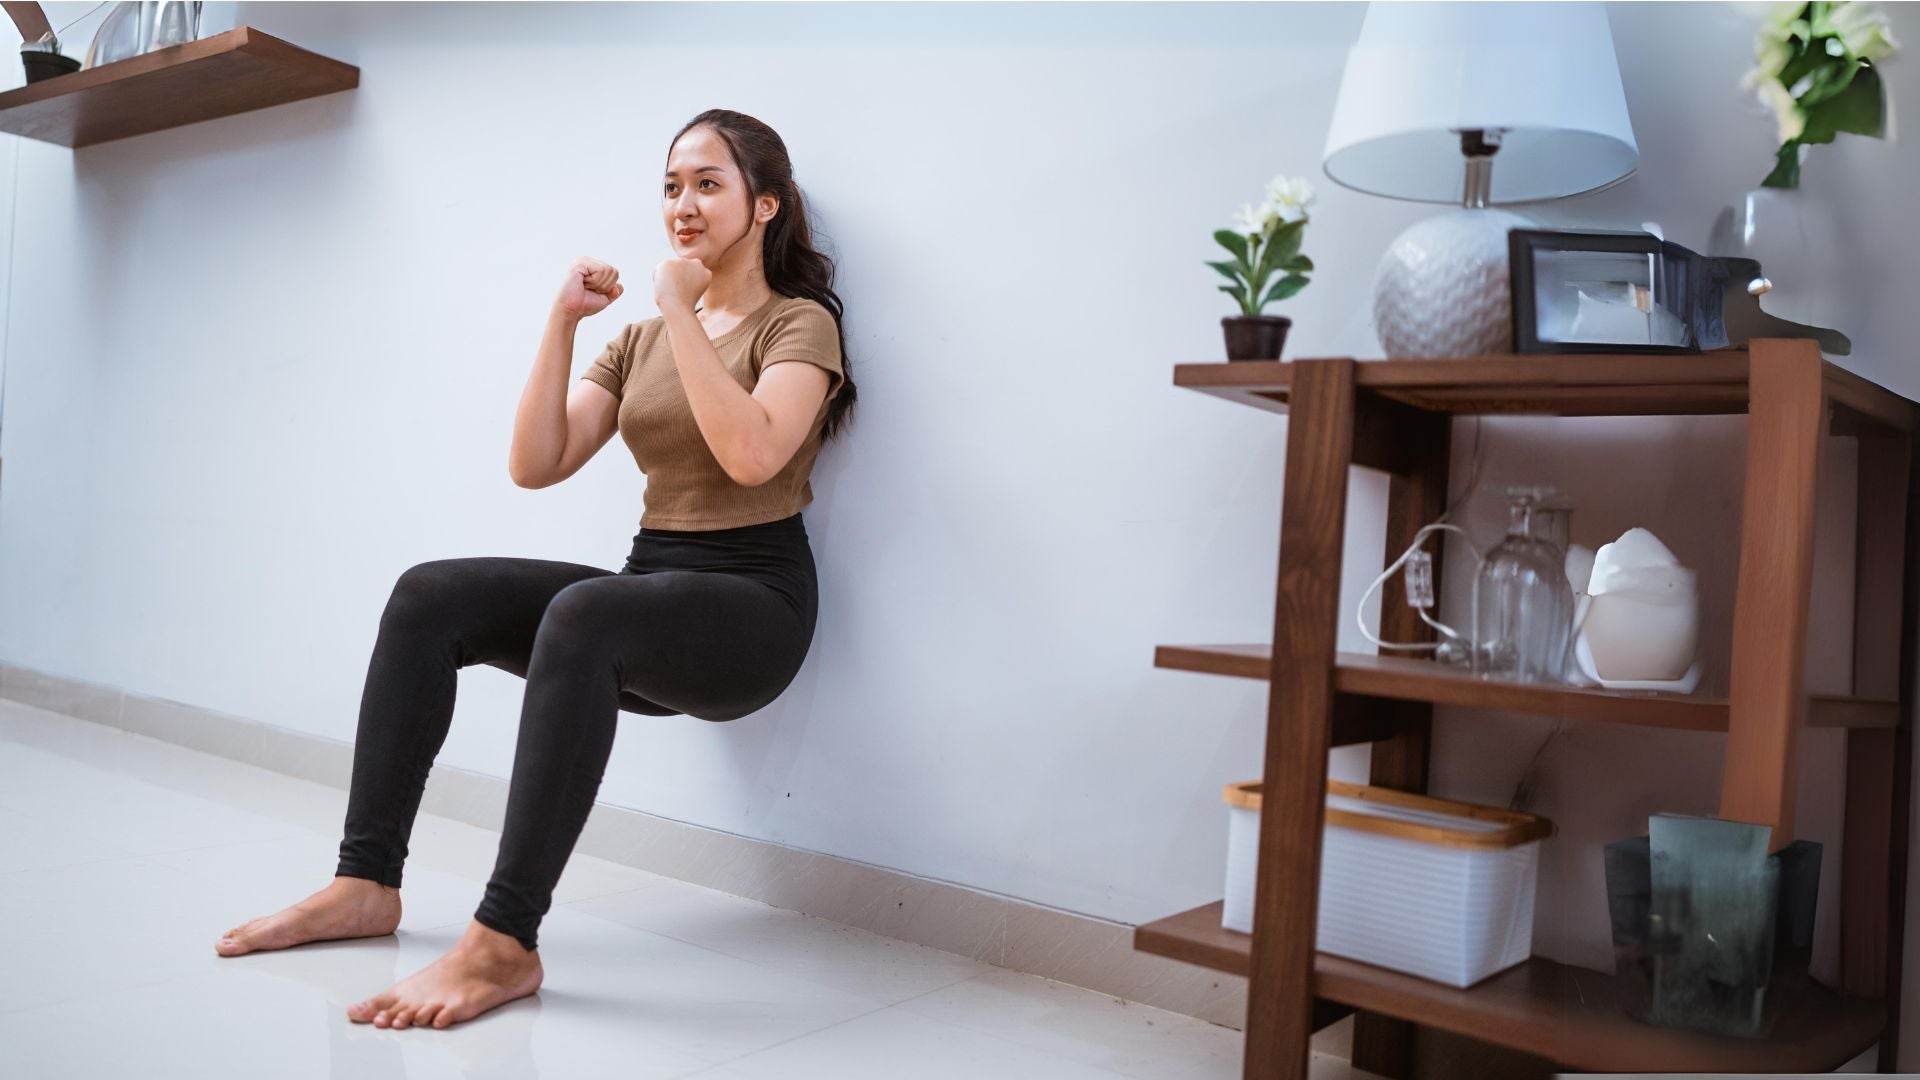
Wall squats are a low-impact exercise that is especially gentle on the knees and back, so they don't require a lot of strength. Wall squats are primarily good for working the front of your thighs and buttocks. Stand with your back against a wall and your feet slightly forward, shoulder-width apart.
Keeping your back and head against the wall, slowly lower yourself down until your knees are at a 90-degree angle, making sure they don't go past your toes. Hold this position for 2-3 seconds, then slowly return to standing, pushing your back against the wall.
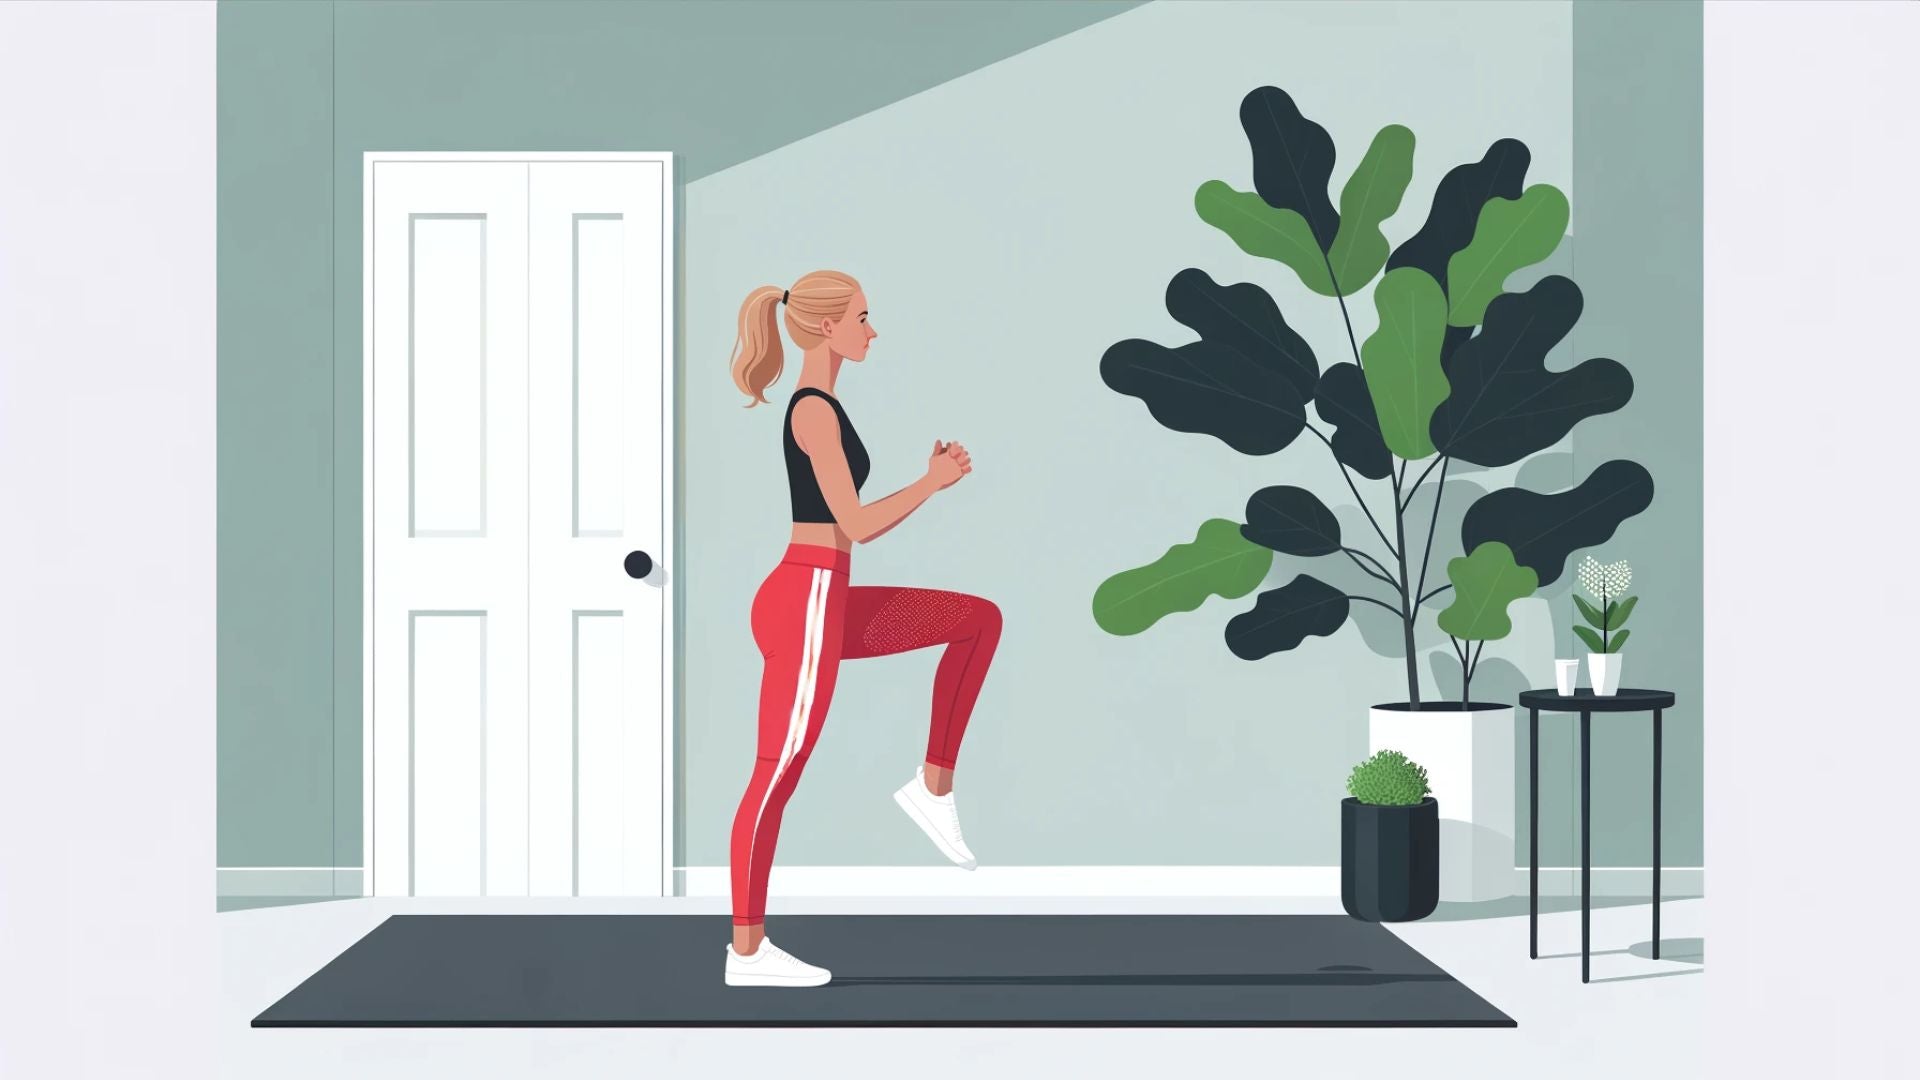
Lunge training menu
Lunges are exercises that train your thighs by stepping forward and backward with your legs braced. A sense of balance is important, so this exercise can make your upper body sway from side to side. At first, you can do it with your hands on a desk or something.
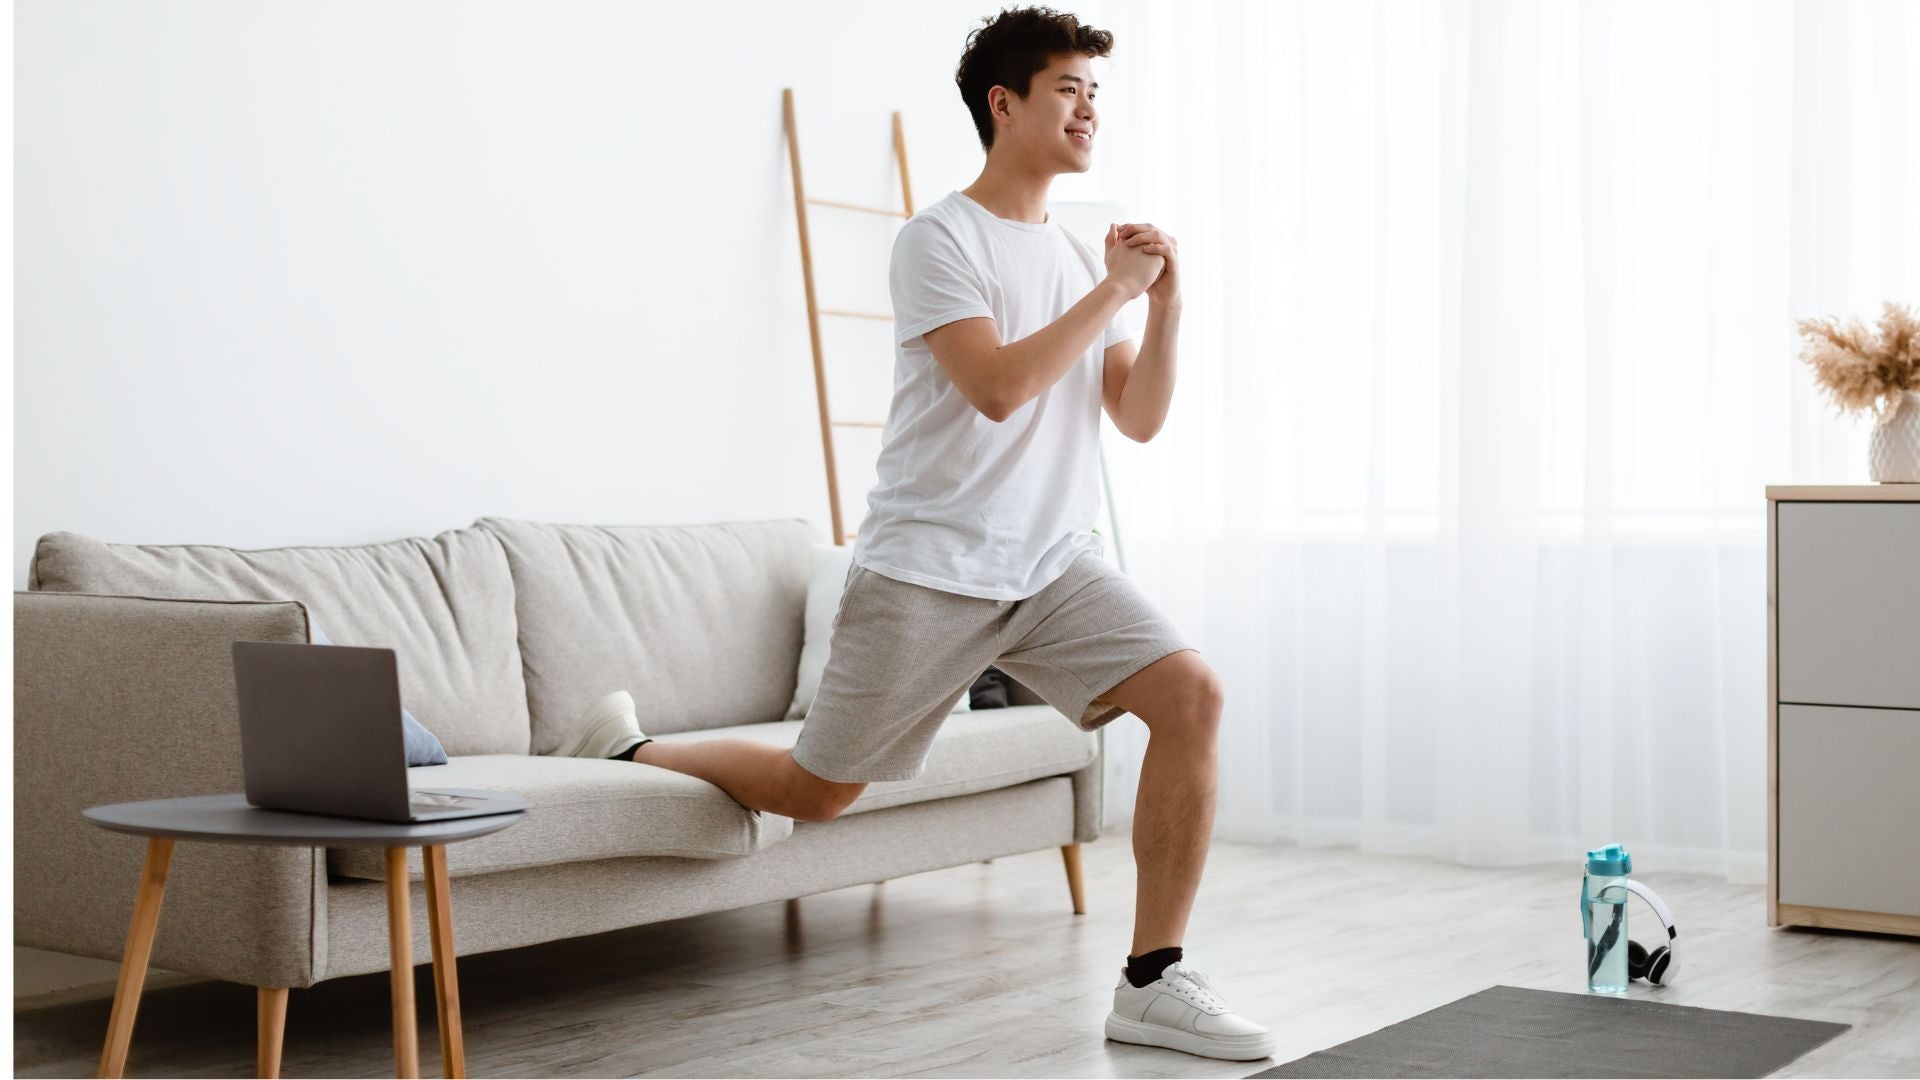
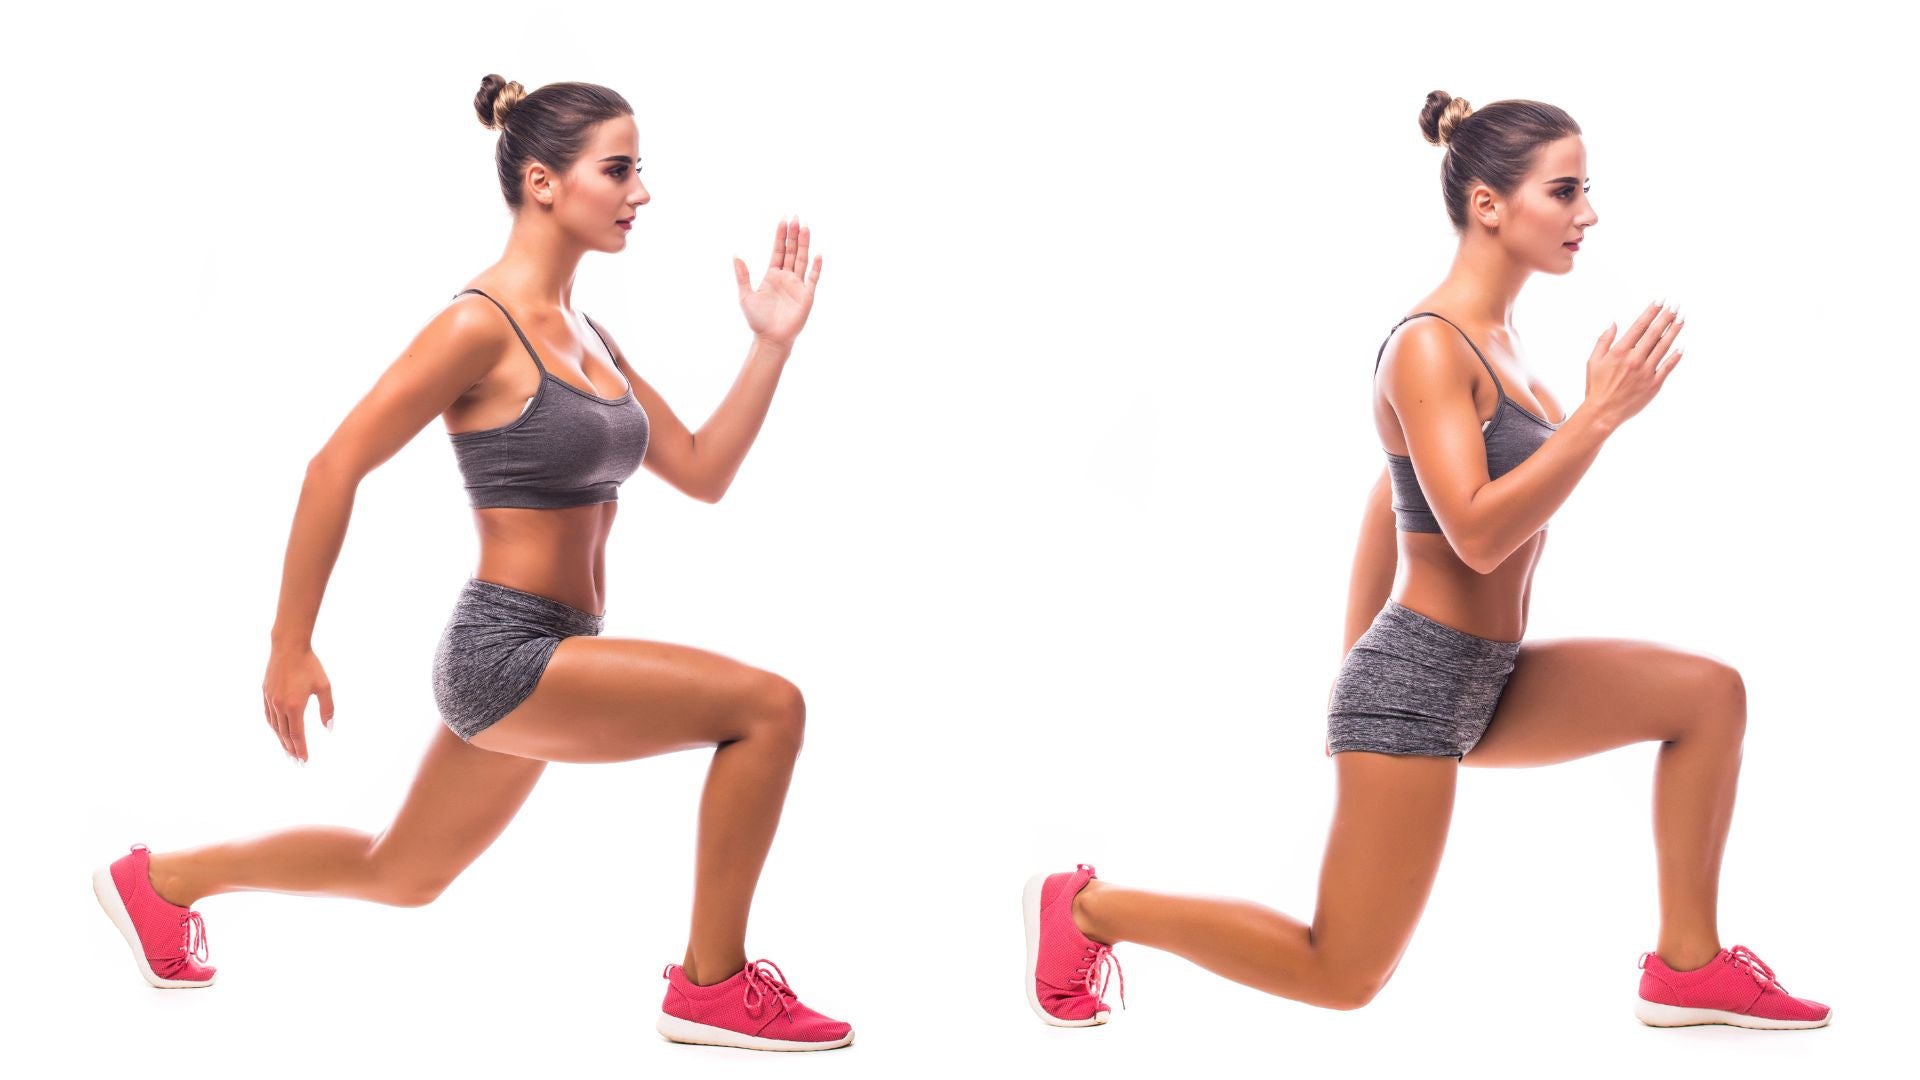
Exercise 1: Drop lunge
Drop lunges are an exercise that develops lower body strength and balance. From a standing position, take a big step back and lower your back knee until it just barely touches the floor.
Bend the knee of your front leg at a 90-degree angle and make sure your toes are pointing forward. Press the heel of your front leg against the floor to return to the starting position. Be careful not to let your knee go beyond your toes, and avoid putting strain on your hips and back.
Exercise 2: Reverse lunges
Reverse lunges are also called back lunges. They put less strain on the knees and effectively train the muscles of the lower body. From a standing position, take a big step back with one leg and slowly lower your back knee toward the floor.
By keeping your center of gravity on your front leg, you can reduce the risk of your body collapsing and putting strain on your hip joints. Return your lowered knee to its original position and complete one set.
Exercise 3: Lunge jumps
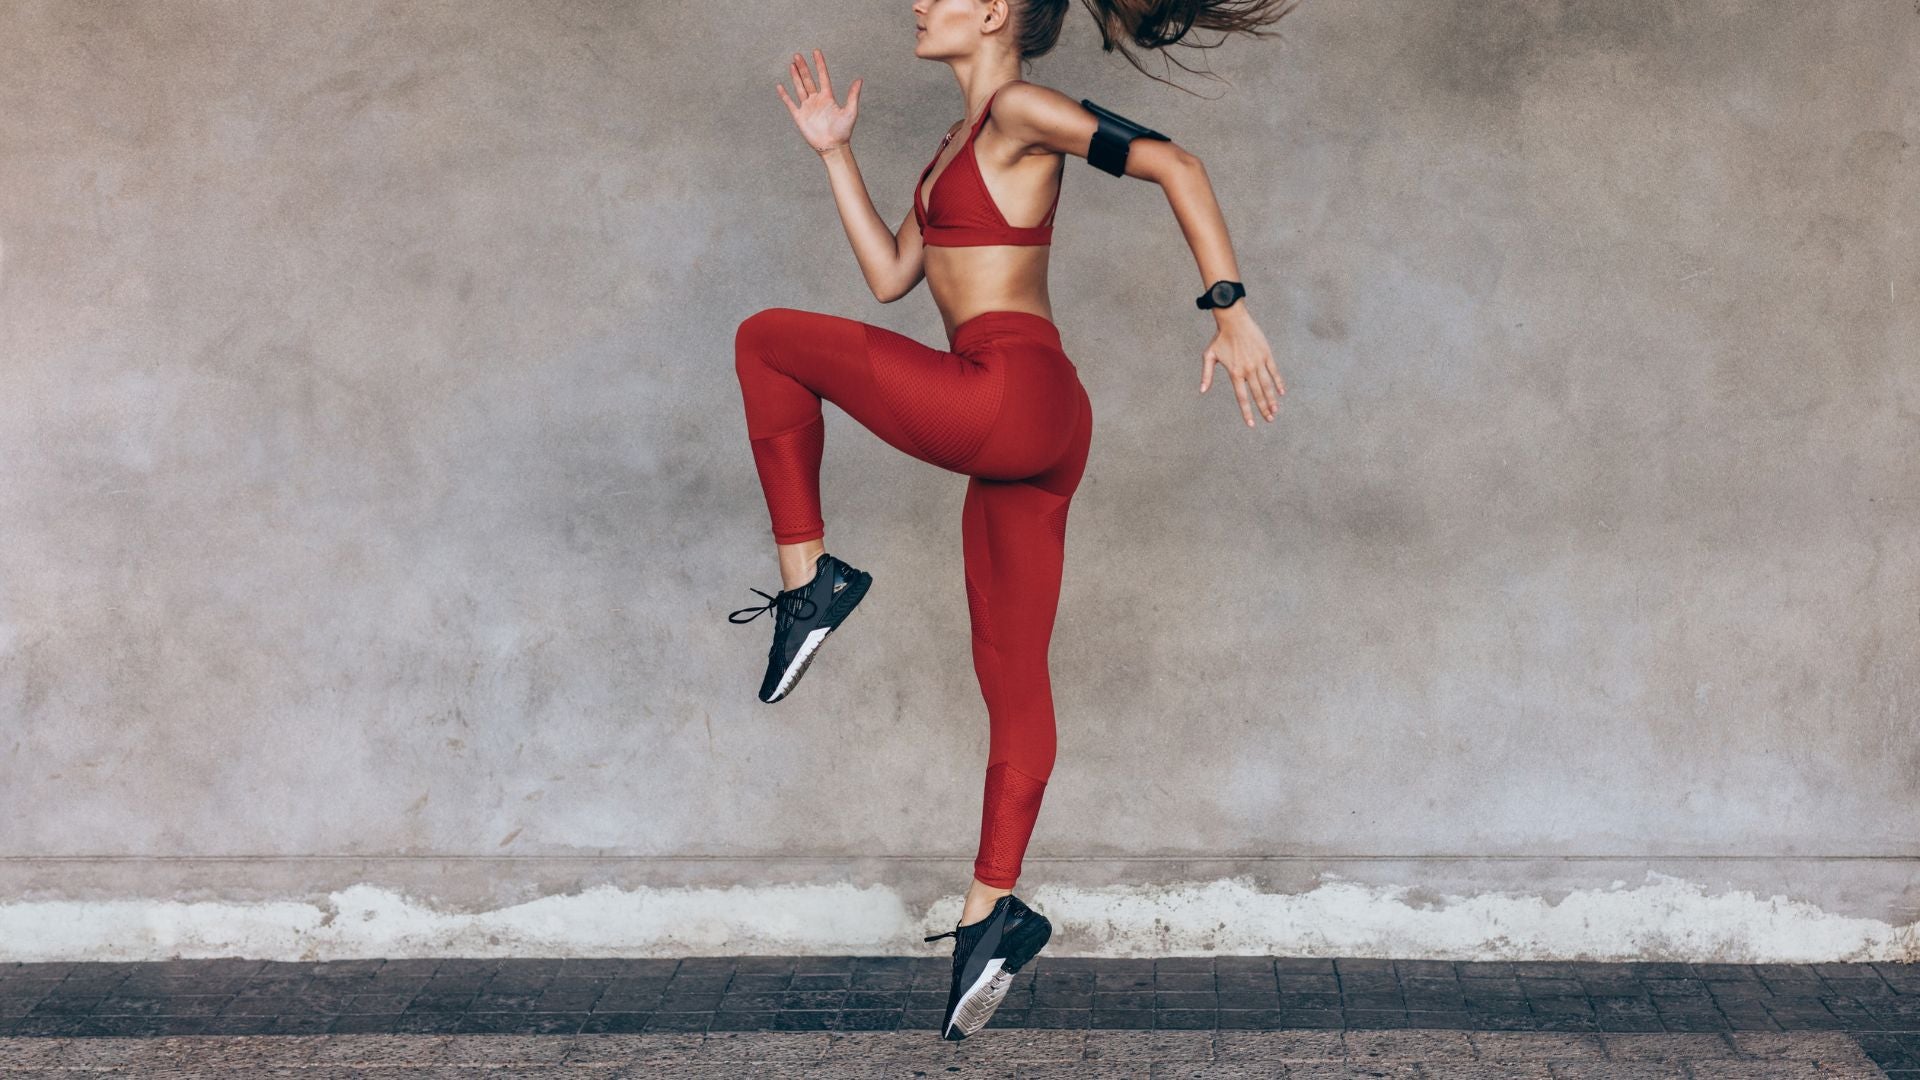
Lunge jumps are a workout for leg strength and explosiveness. Start in a lunge position, bend your front leg at a 90-degree angle, and lower your back knee to the floor. Kick off the ground with both legs and jump, then switch feet in the air and land. Bend your knees as you land to cushion the impact.
Other lower body training exercises
Besides squats and lunges, there are other exercises you can do at home to train your lower body, including your calves and buttocks.
Workout 1: Calf raises
Calf raises are a great exercise to train your calf muscles. Stand with your feet shoulder-width apart. Slowly lift your heels off the floor and stand on your toes. Raise your heels as high as you can until you feel tension in your calf muscles.
Pause briefly at the highest position, then slowly return your heels to the floor. If you have difficulty balancing, you can use a wall or chair as a light support. It is also important to perform the entire movement smoothly and not put excessive strain on yourself with sudden movements.
Exercise 2: Hip abduction (outer thigh)
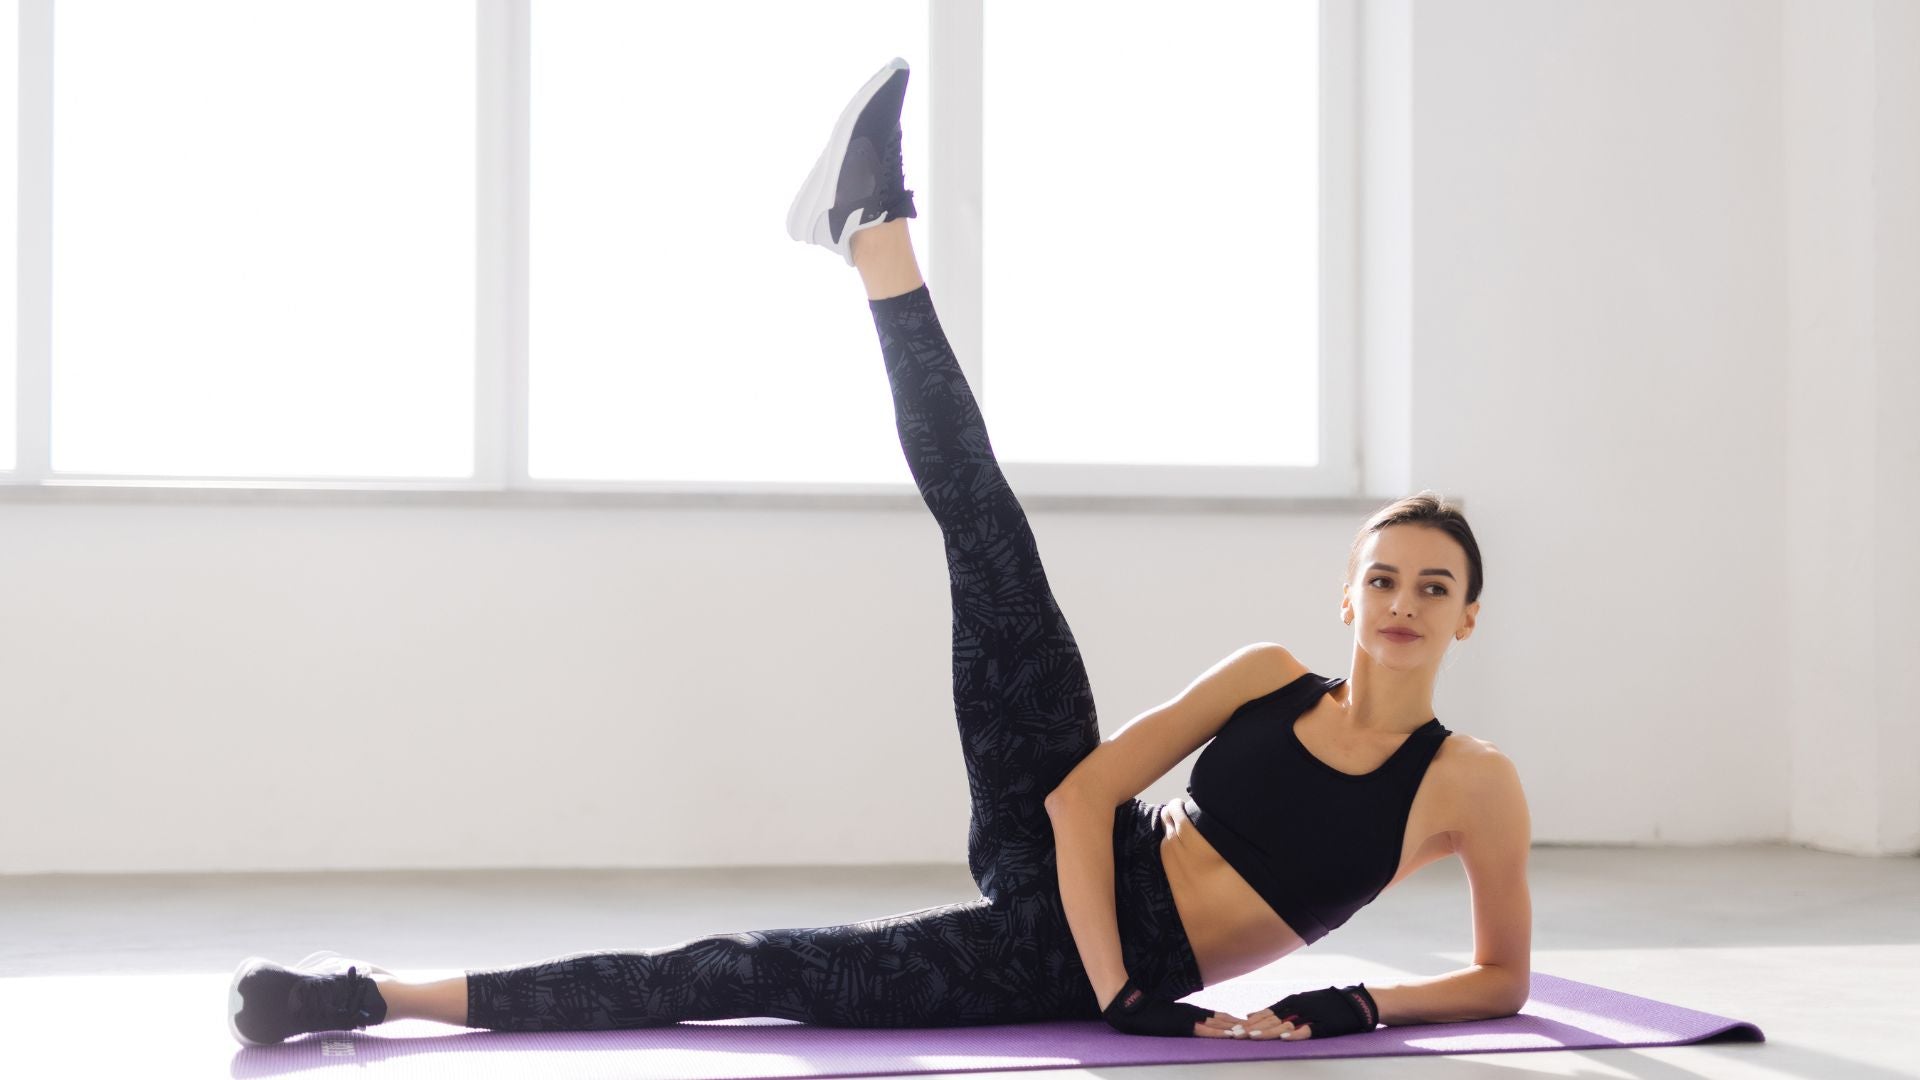
Hip abduction is a workout for the outer thighs and sides of the buttocks. Lie on your side and lift one leg to the side of your body. The toes of the leg you are lifting should be pointing forward. It is important not to tilt your upper body.
Hold your leg up for 2-3 seconds and then slowly lower it back to the starting position. You can use a tube to increase resistance.
Workout 3: One-leg hip lift (hip raise)
One-leg hip lifts (hip raises) are a workout for your buttocks and hamstrings. Lie on your back with one leg bent and one foot on the floor, and the other leg straight out.
Use your feet to slowly lift your hips off the floor, hold at the top for 2-3 seconds, then slowly lower your hips back down to the floor, keeping your hips and lower back muscles engaged and making sure your spine doesn't arch too much.
Exercise 4: Donkey kick (hips)
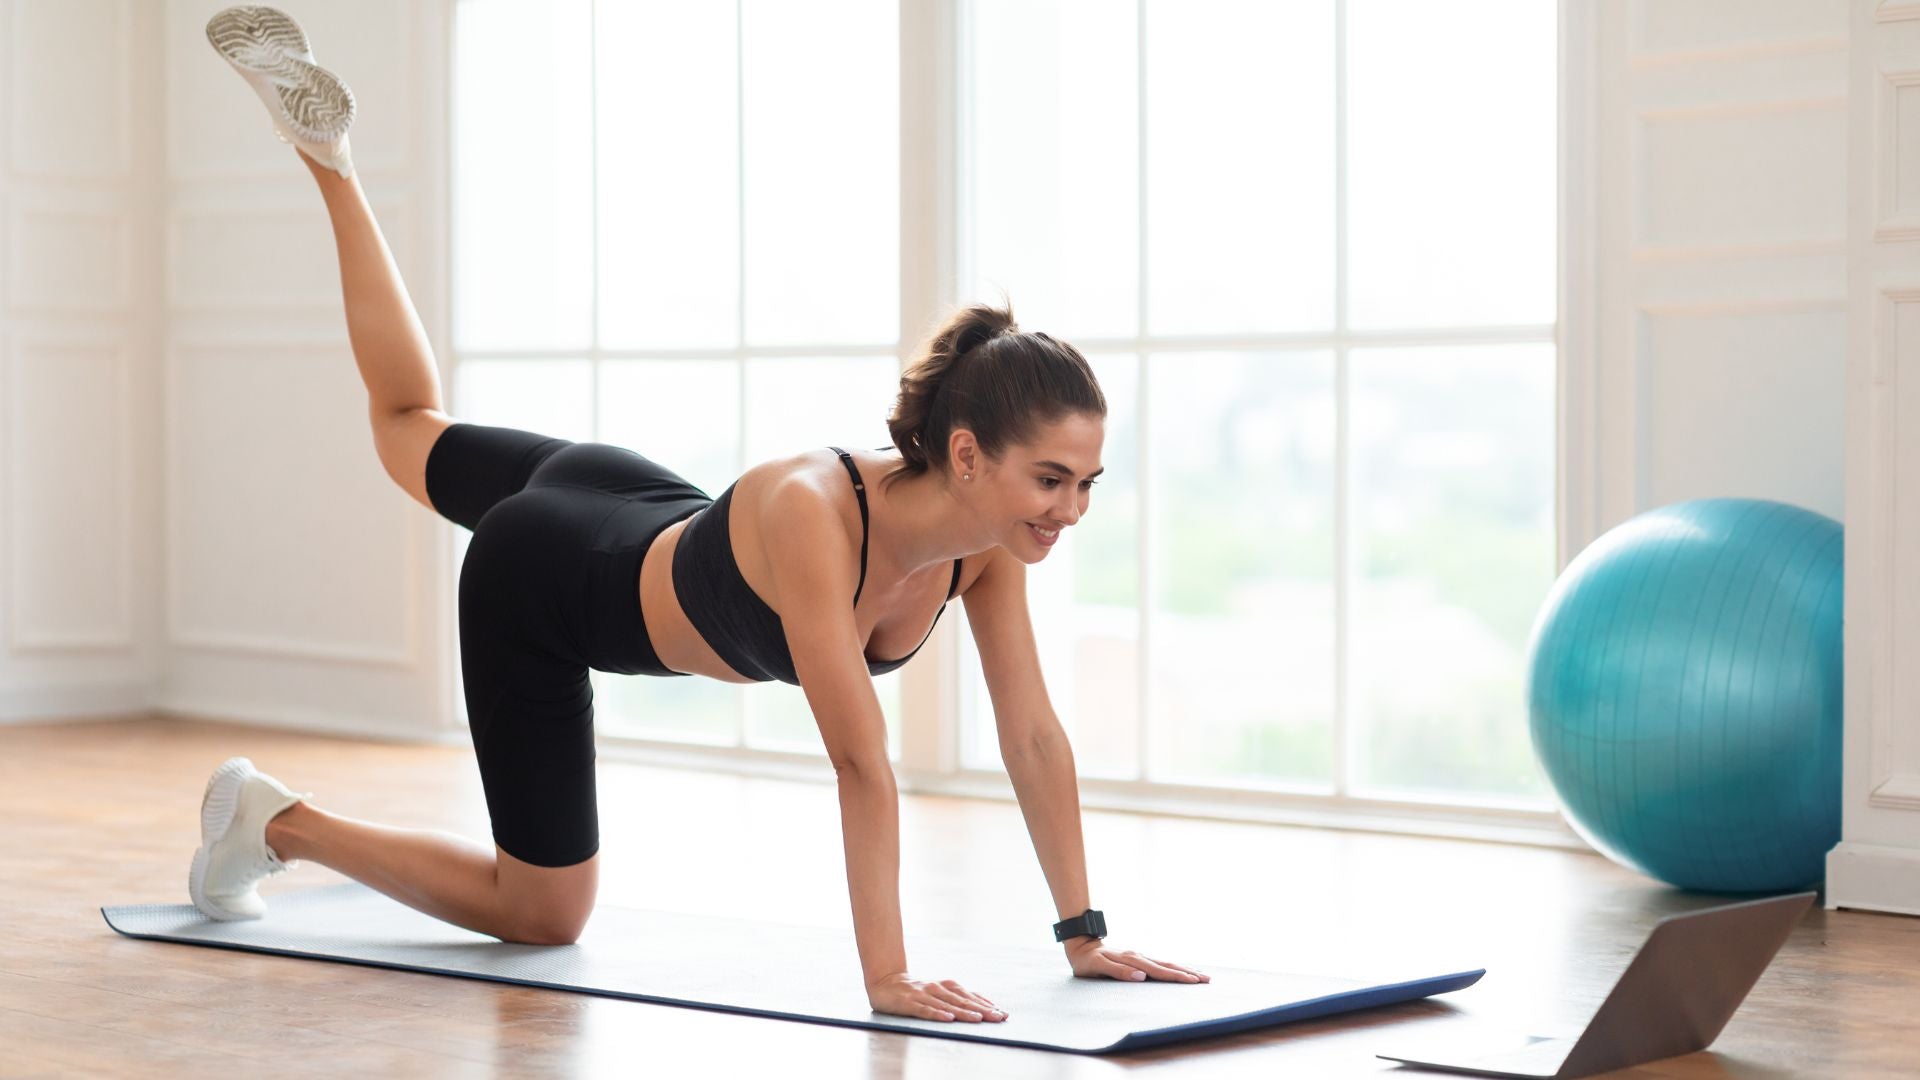
Donkey kicks are an effective exercise for working the hips and back legs. Start on all fours with your hands under your shoulders and knees under your hips. Keep your back in a natural curve and your neck relaxed and in line with your body.
Lift one leg up until it is parallel to the floor, keeping your knee at a 90-degree angle. The point is to make sure the sole of your foot is facing the ceiling. Pause briefly at the highest point, then slowly return to the original four-legged position.
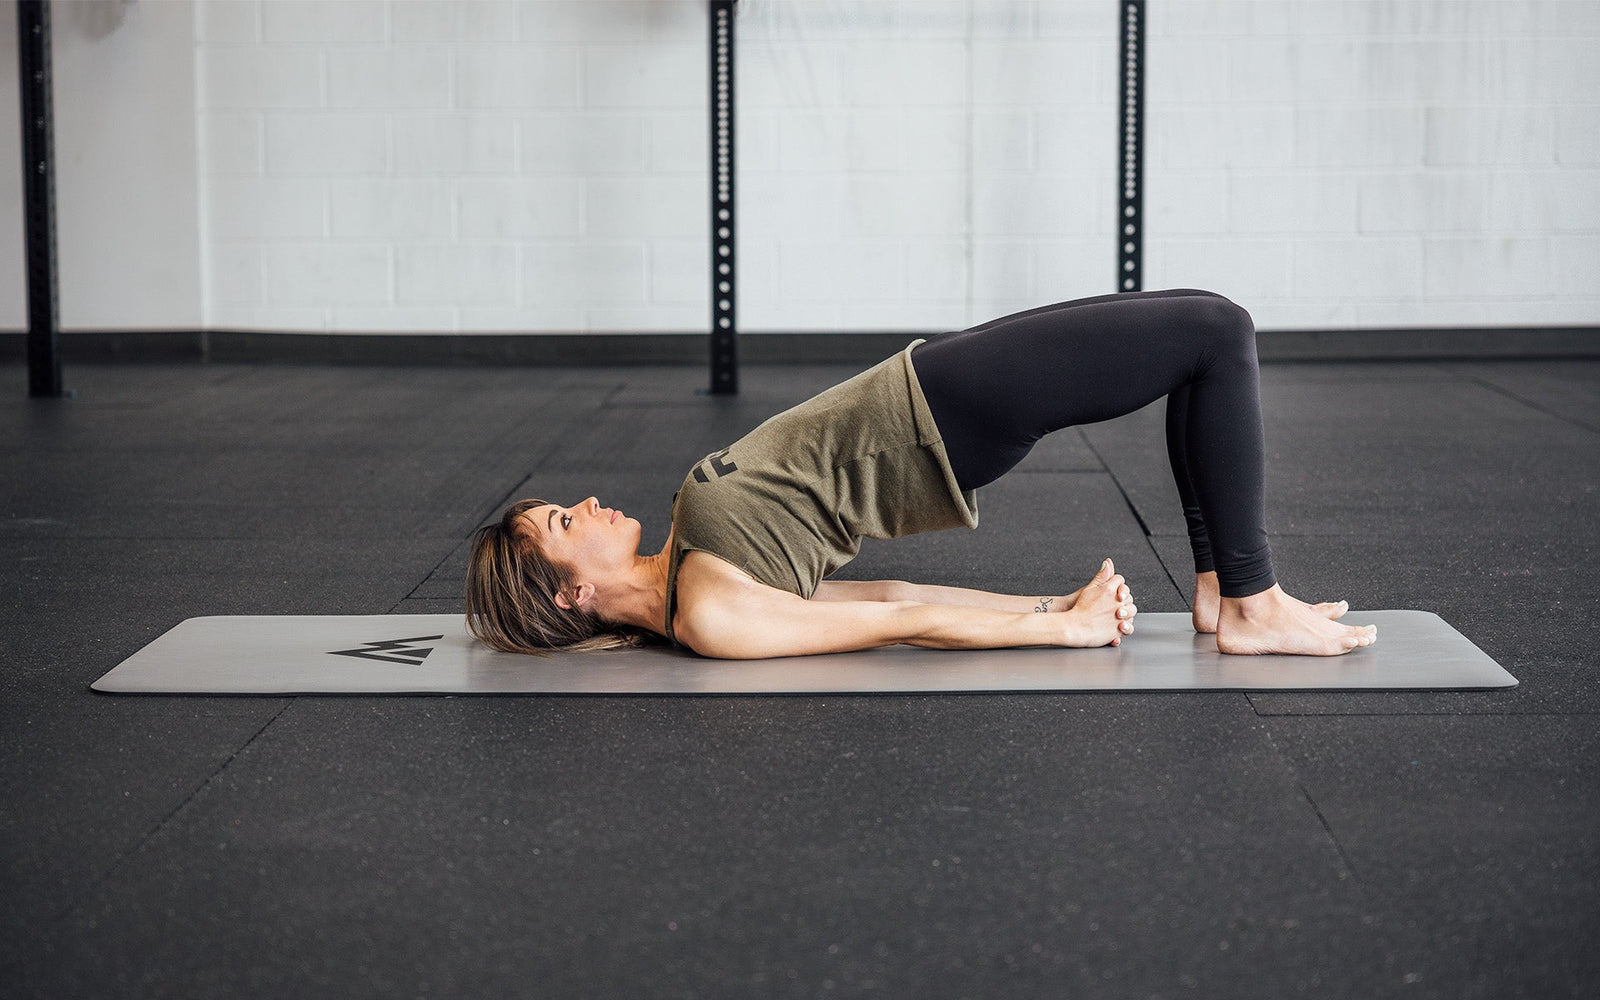
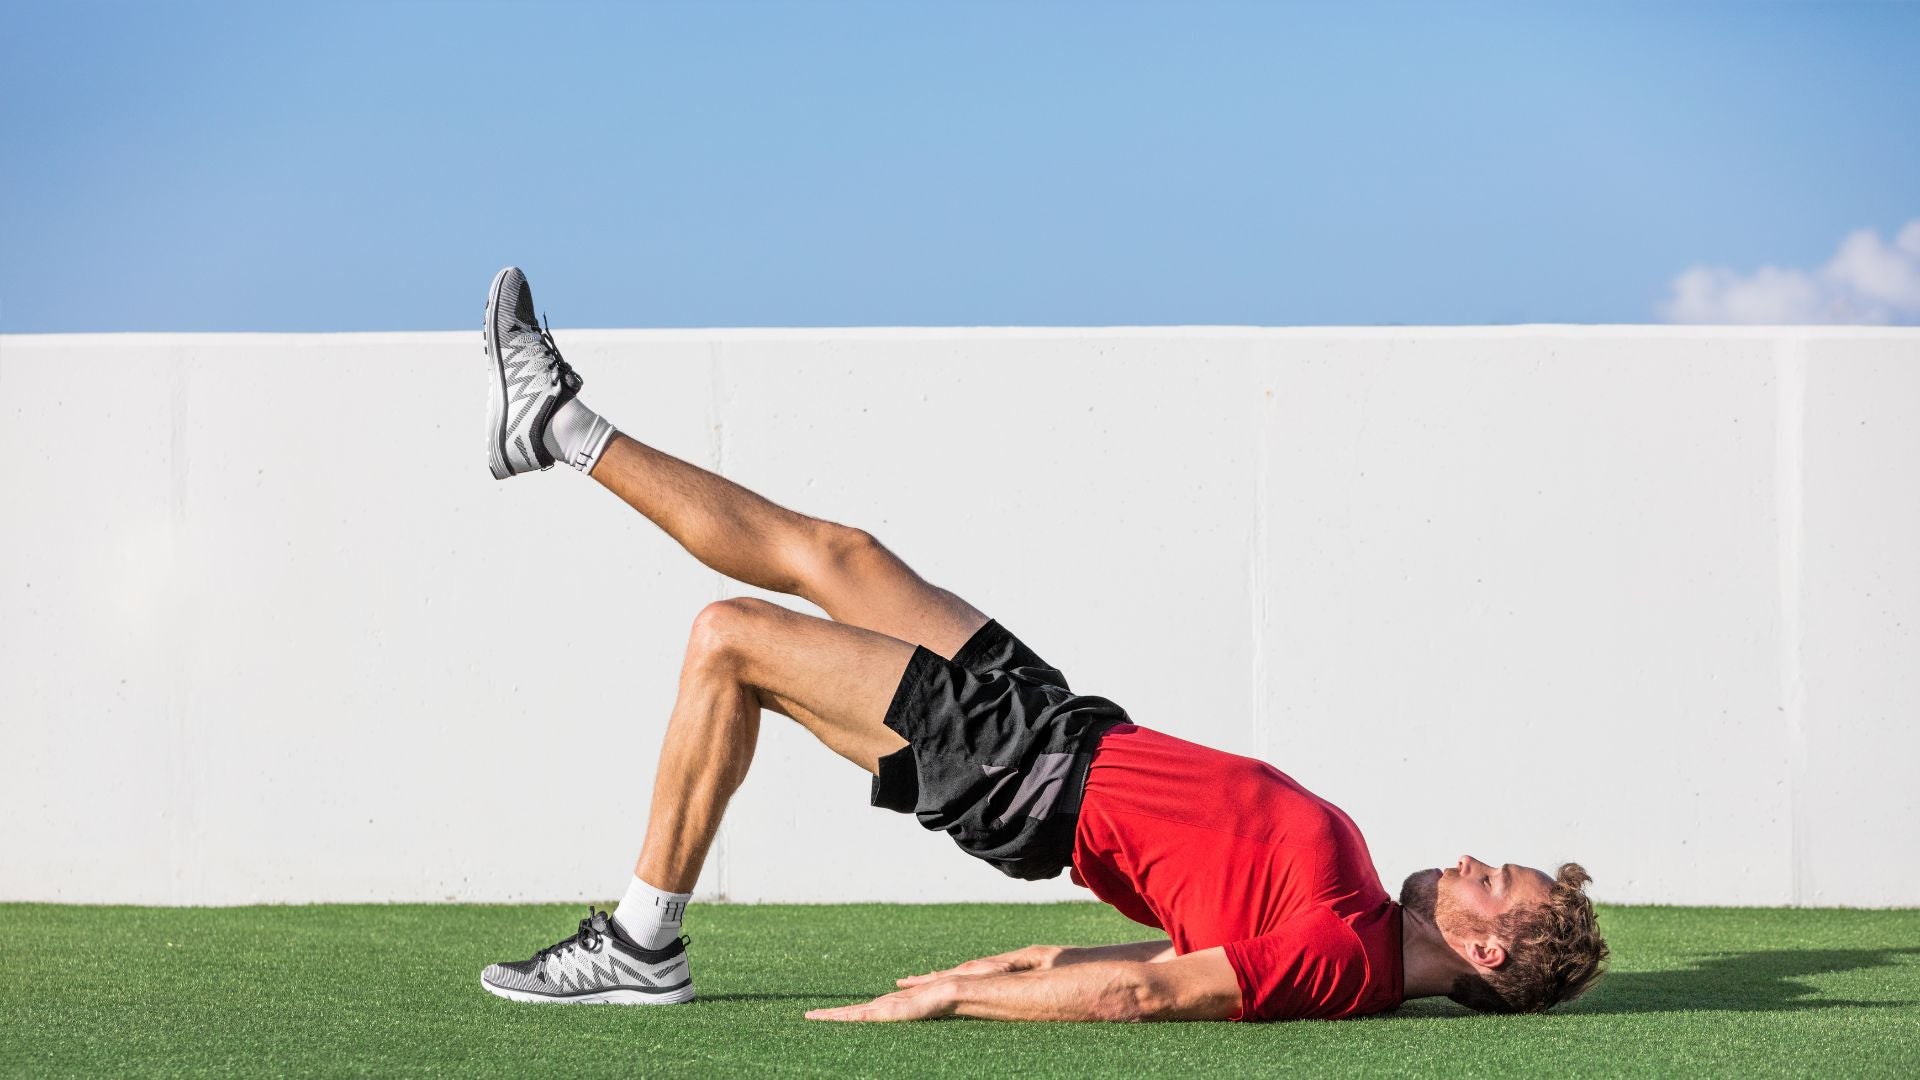
Exercise 5: Glute bridge
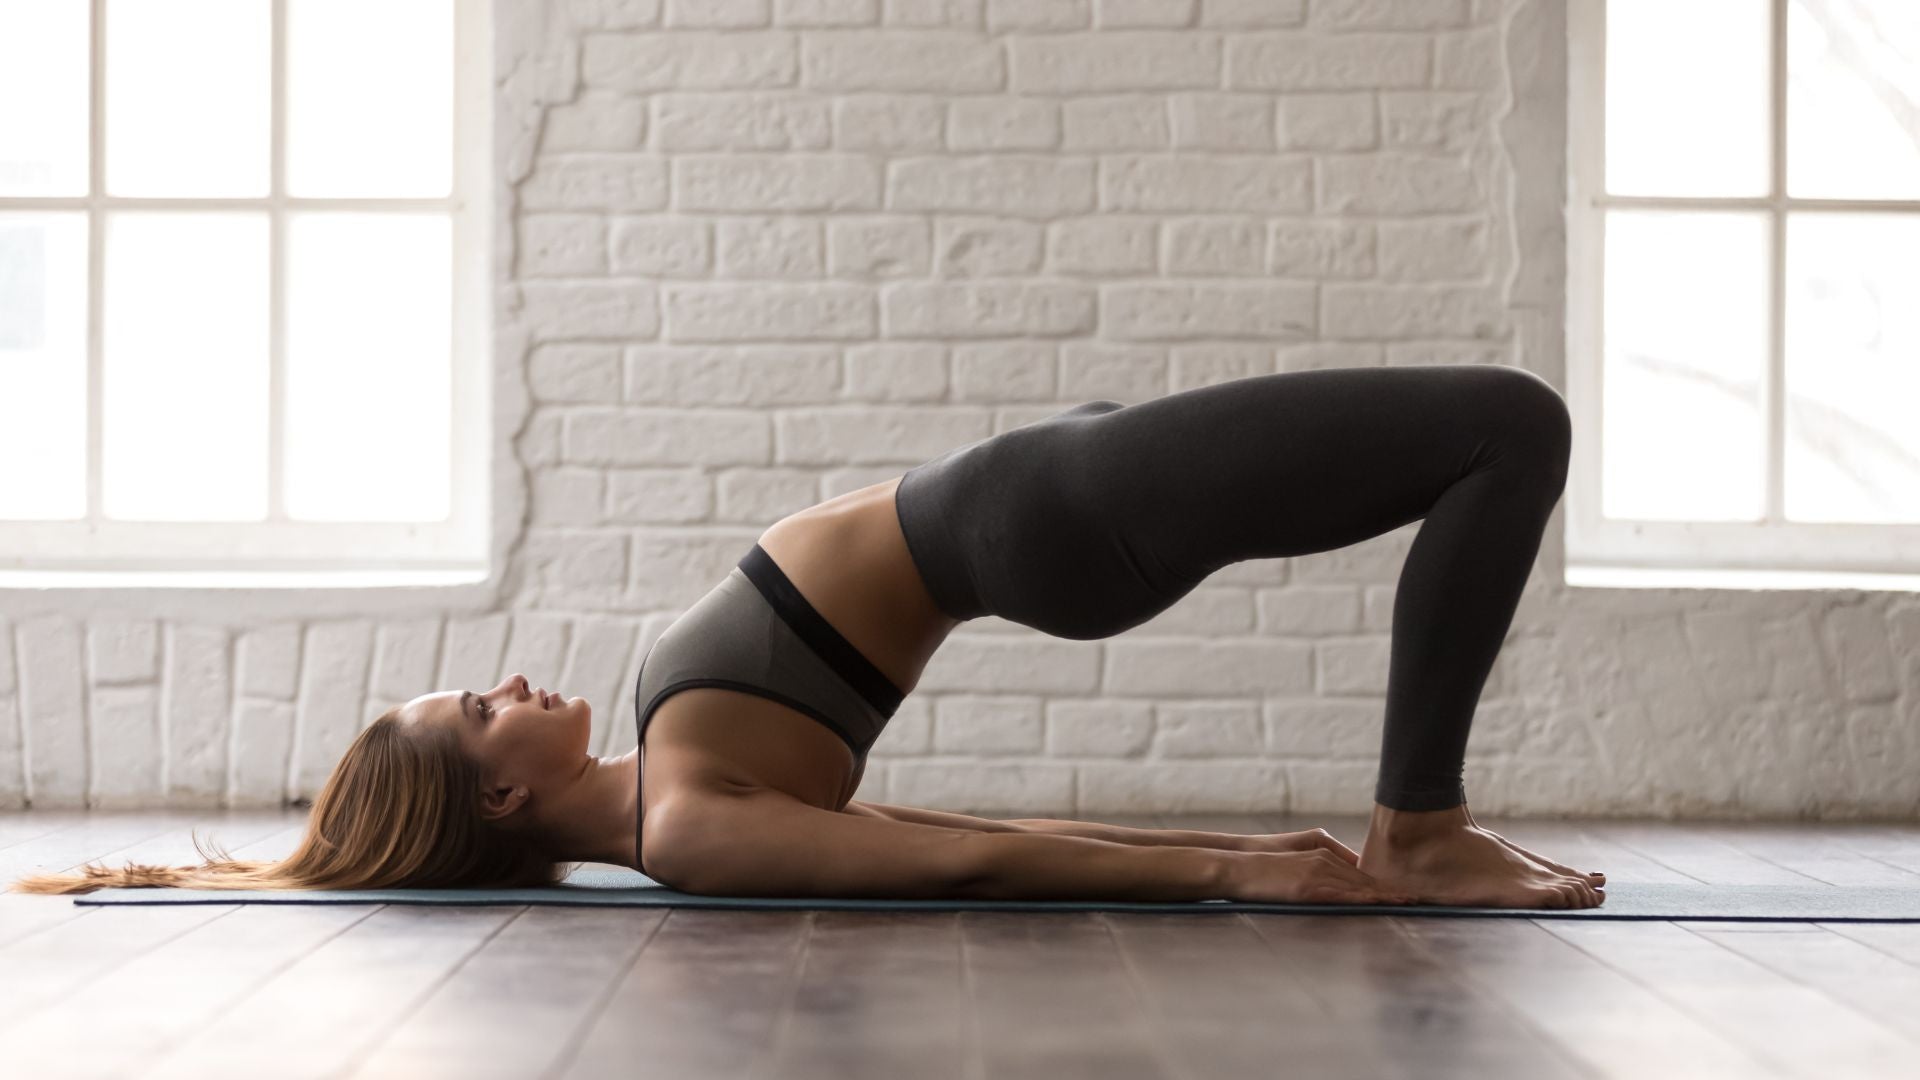
The glute bridge is a workout that focuses on the buttocks. Lie on your back, bend your knees, place your feet on the floor, and place your arms at your sides. Inhale and slowly lift your buttocks until your thighs and body are in a straight line.
Hold at the top for 2-3 seconds, then exhale and lower your hips back down to the floor, keeping your hip muscles engaged and making sure your lower back isn't arching too much.
At-home upper body strength training
From here on, we will introduce a menu for training the upper body, starting with push-ups. Regardless of whether you are a man or a woman, the muscles in the upper body are noticeable. Let's take a look at a training menu for the arms, shoulders, and chest, which are essential for building an attractive body.
Push-up training menu
Even with something as simple as a push-up, you can change the parts of your body you train by changing the way you do it. Let's start by looking at the basic push-up.
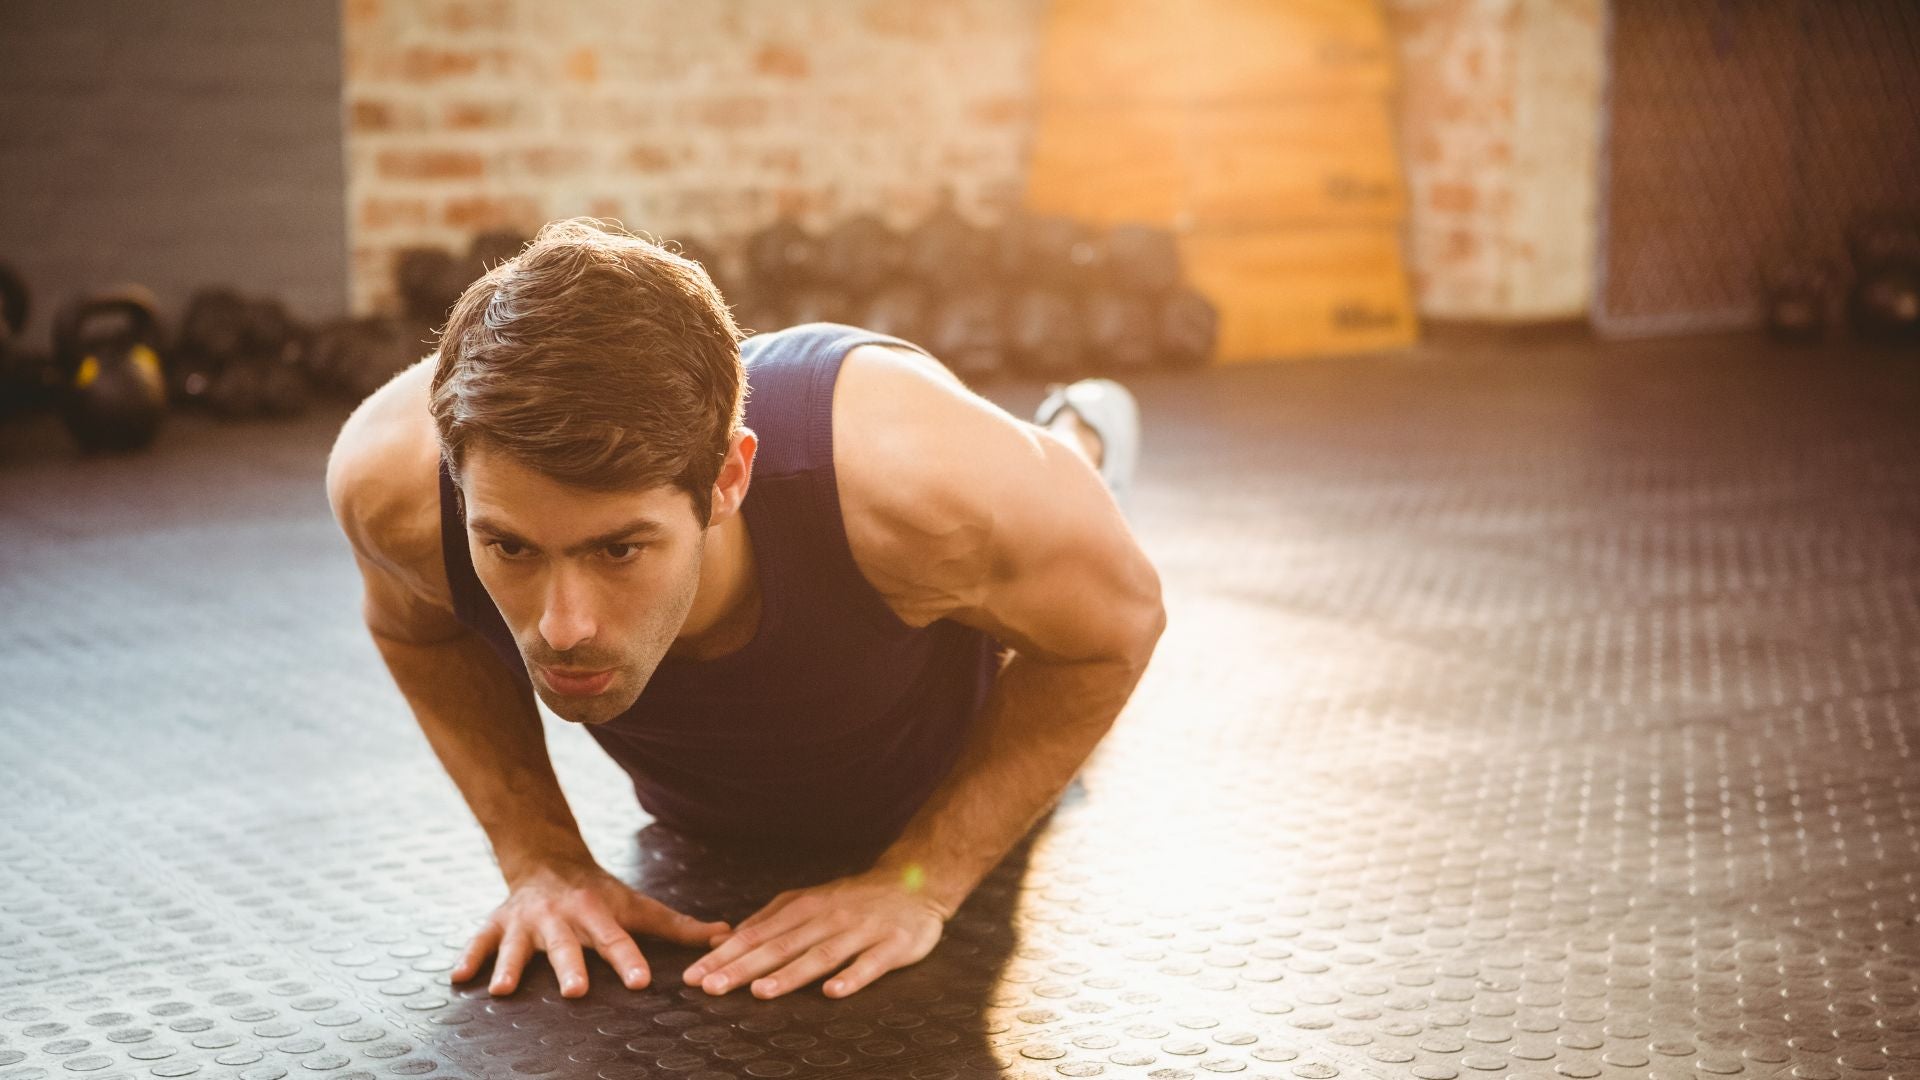
Workout 1: Push-ups
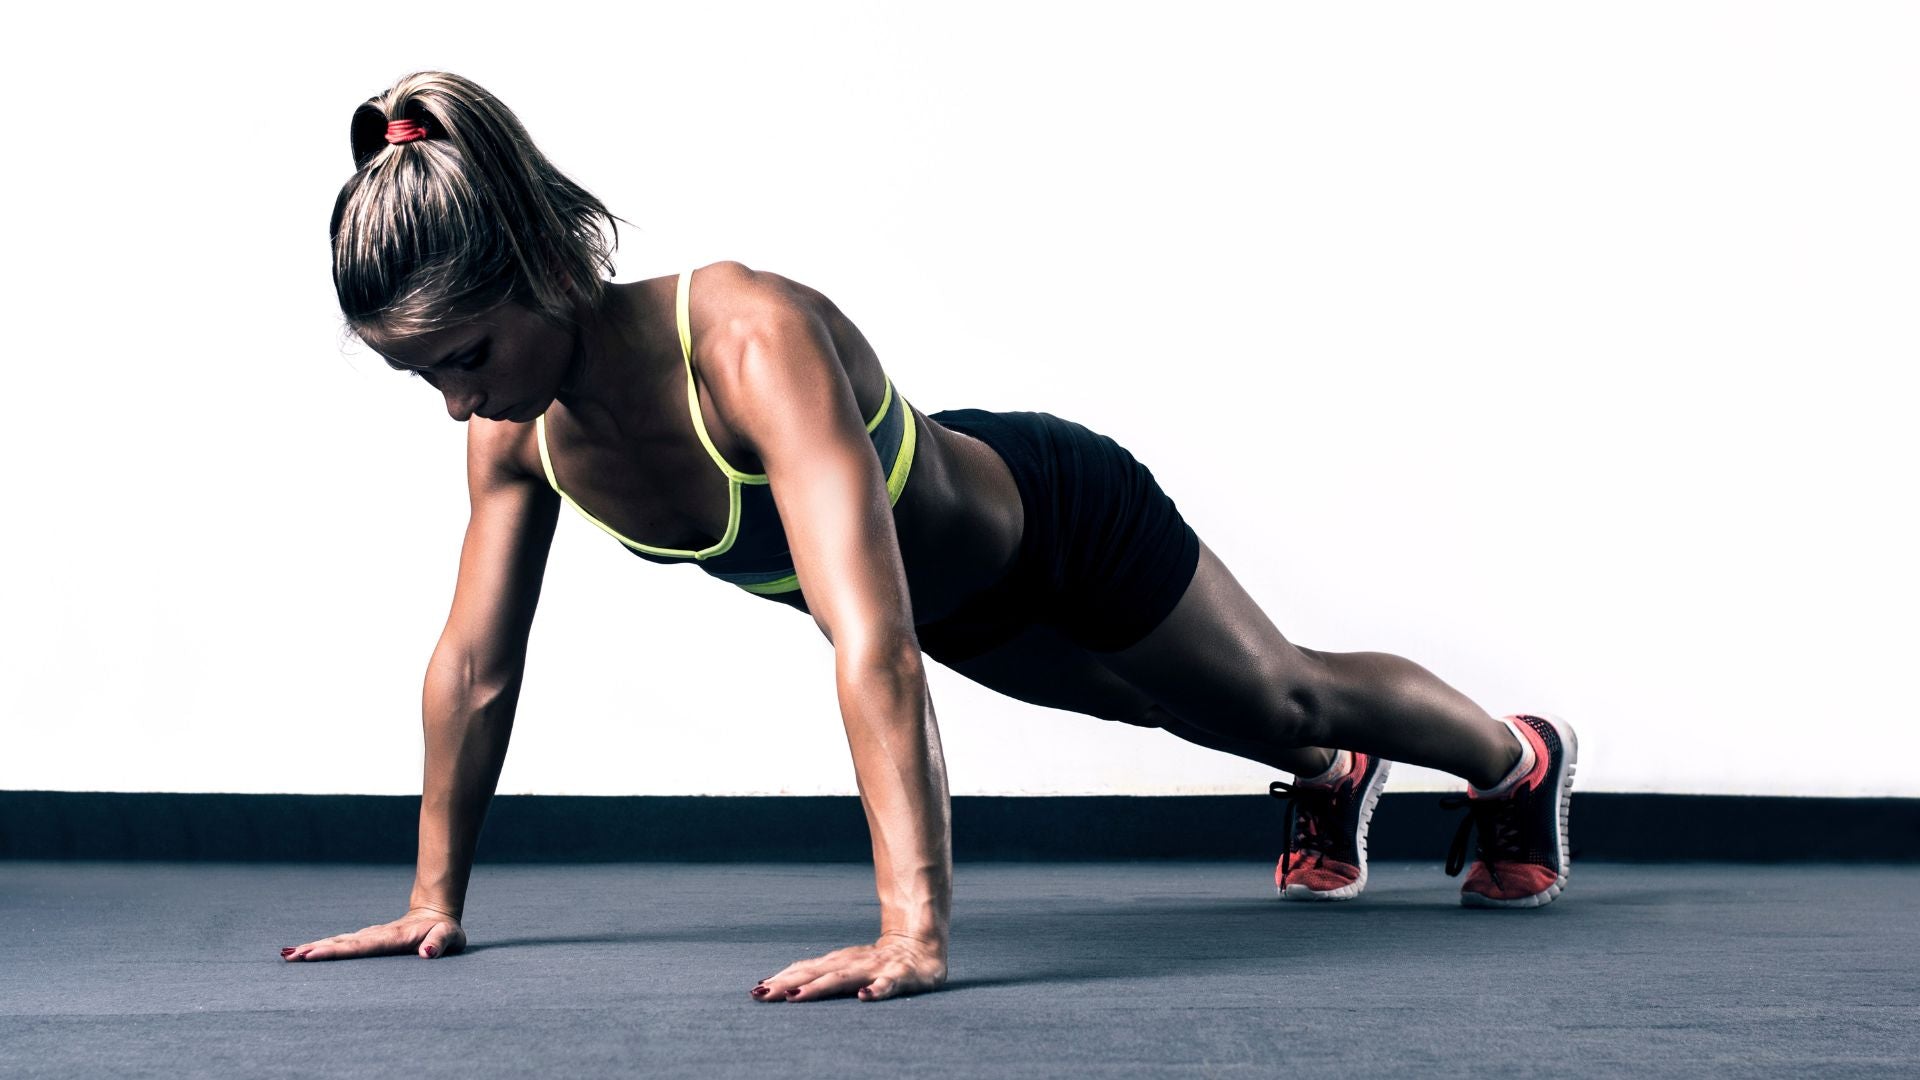
Push-ups are a great way to strengthen your upper body and core. Place your hands slightly wider than shoulder width apart on the ground and your feet extended and together. Bend your elbows and lower yourself down until your chest almost touches the ground.
It's important to keep your back straight and your core engaged to keep your body in a straight line.
Workout #2: Hindu push-ups
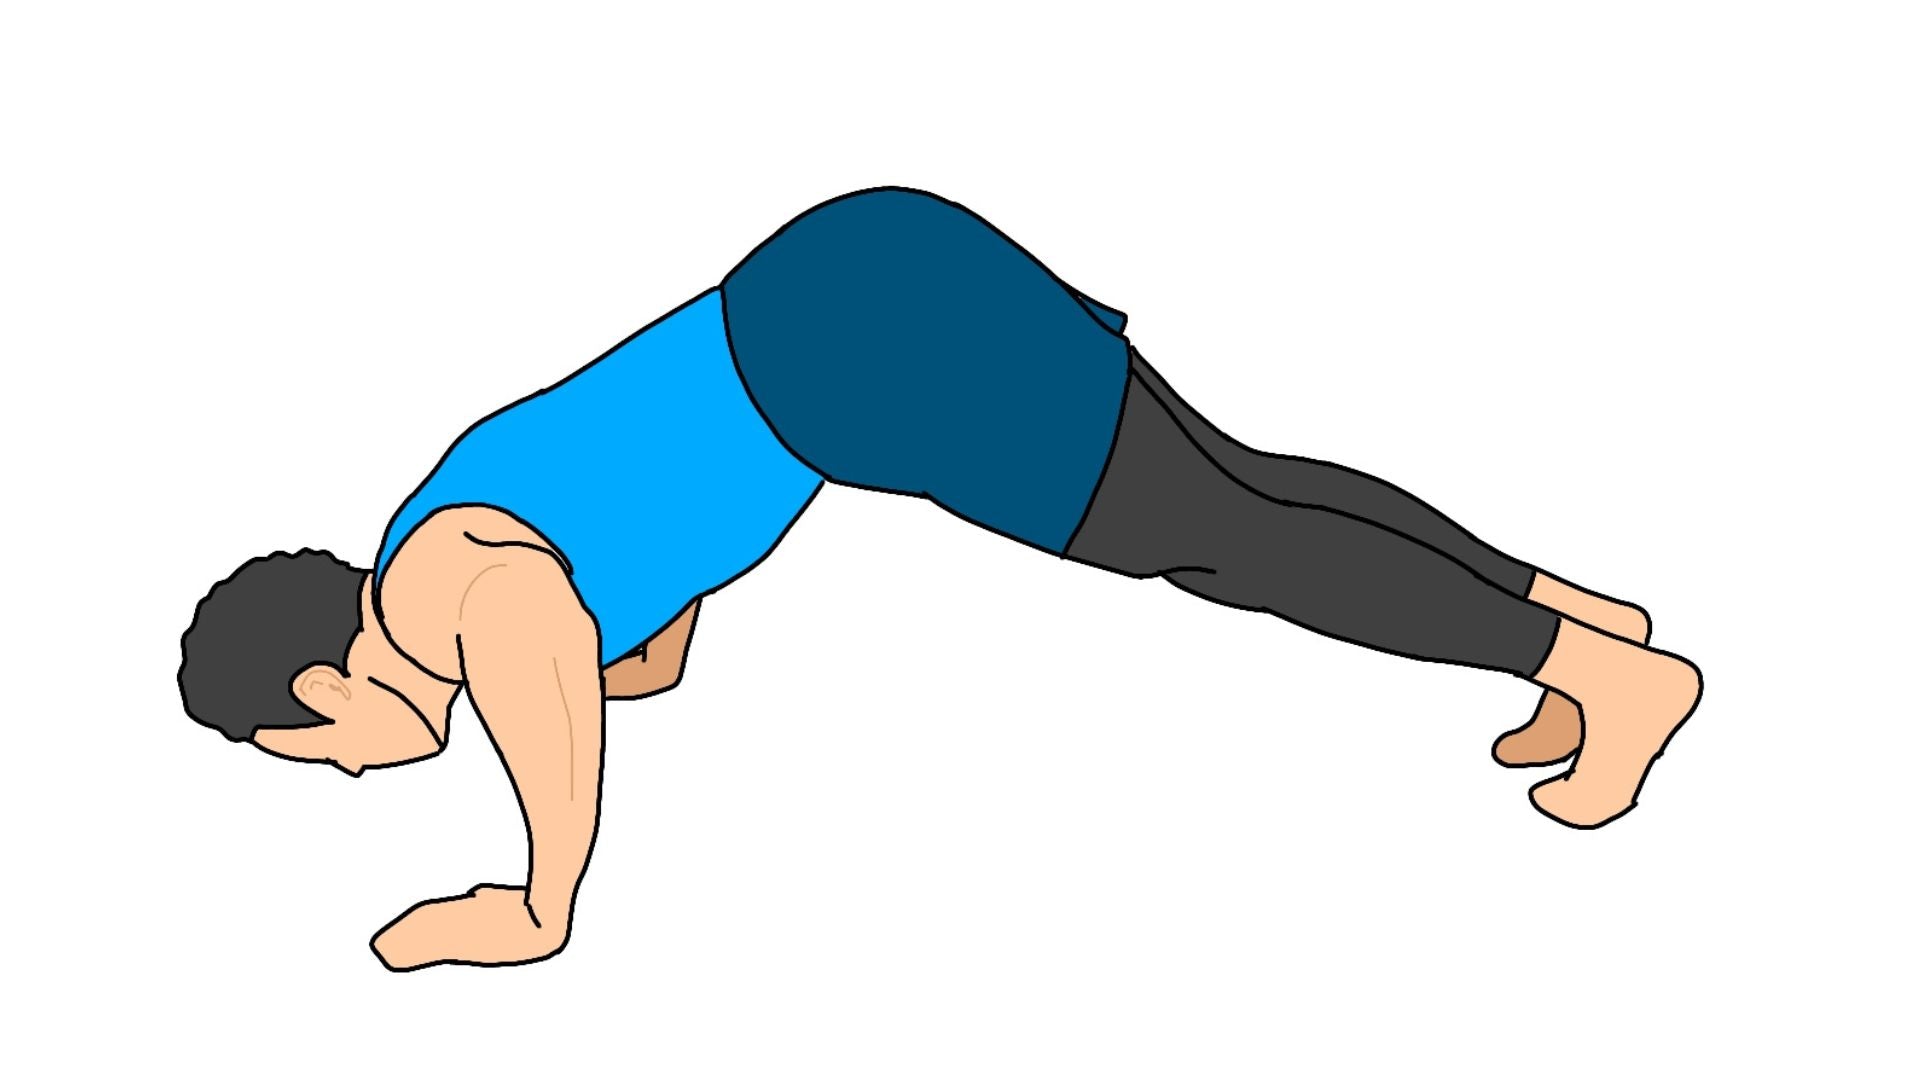
Hindu push-ups are a great way to build strength and flexibility. Start by forming an inverted V shape with your feet and hands on the floor. Slide your body forward, lowering your face and chest, and pushing your chest forward.
Next, raise your hips and return to the starting position. This will train not only your muscles, but also your shoulders and back flexibility.
Exercise 3: Decline push-up
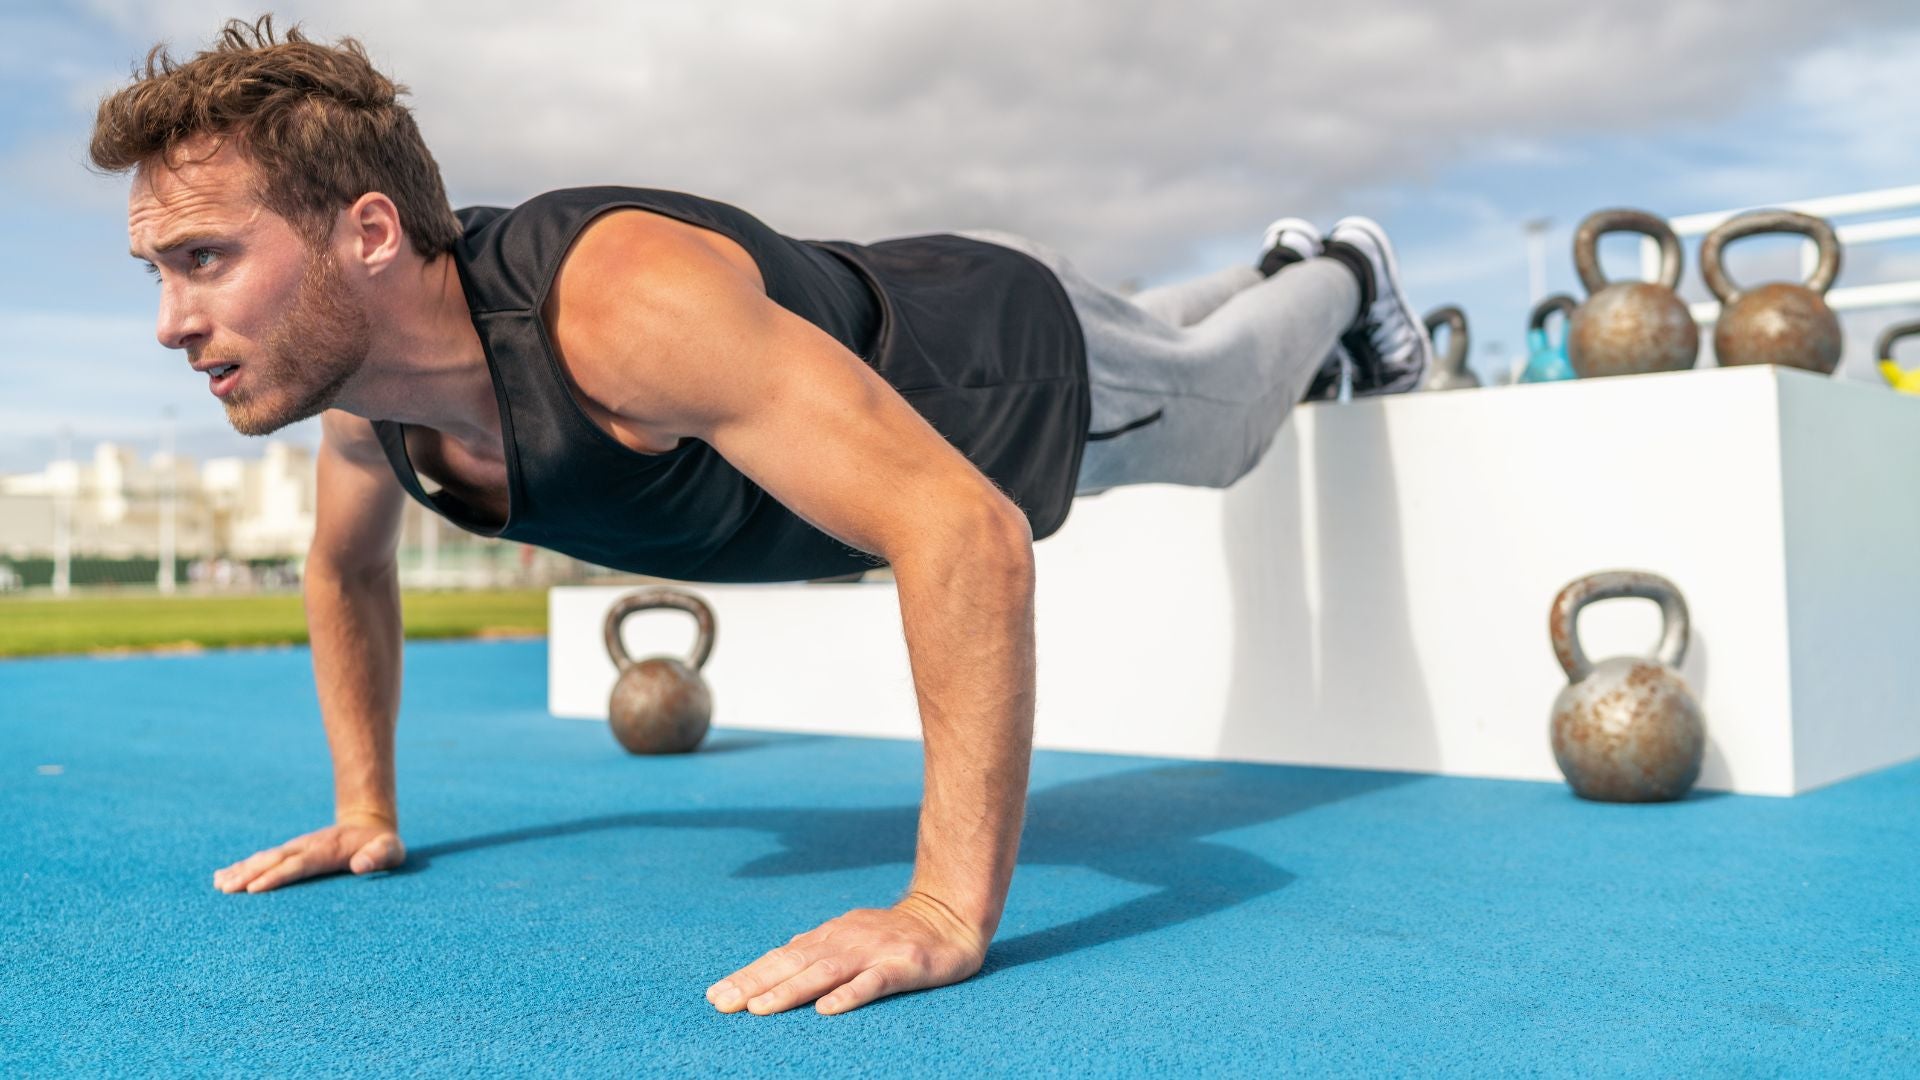
Decline push-ups are a more tonal exercise than regular push-ups, focusing on your upper body, especially your upper chest and triceps. Place your feet on an elevated surface (such as a bench or step) and your hands on the ground slightly wider than shoulder-width apart.
Keeping your body in a straight line, bend your elbows and lower yourself down until your chest is close to the ground, then push yourself back up to the starting position. Make sure your spine is not arched and your core is engaged. The higher your feet are placed, the more resistance you'll get, which will improve your upper chest workout.
Exercise 4: Diamond push-ups
Diamond push-ups are a great arm exercise that will strengthen your triceps and mid-chest. Place your thumbs and index fingers together under your chest to form a diamond (or heart) shape.
Keeping your body in a straight line, bend your elbows and bring your chest toward the floor, then push yourself back up to return to the starting position, making sure your elbows don't turn outwards and keeping your core engaged to prevent arching your spine.
Exercise 5: Reverse push-ups

Reverse push-ups, or reverse hand push-ups, work different wrists and forearms by switching up your hand position: Instead of placing your palms in a standard push-up position, face them toward your body.
Bring your hands under your shoulders and bend your elbows, slowly lowering your body to the ground, keeping your core engaged and your back straight. Once your chest is near the floor, press your body back up to the starting position.
This exercise requires wrist flexibility as well as strength, so be careful if you are doing it for the first time.
Other upper body training exercises
We will introduce you to a training menu for the upper body that requires only a little equipment.
Workout 1: Towel rowing
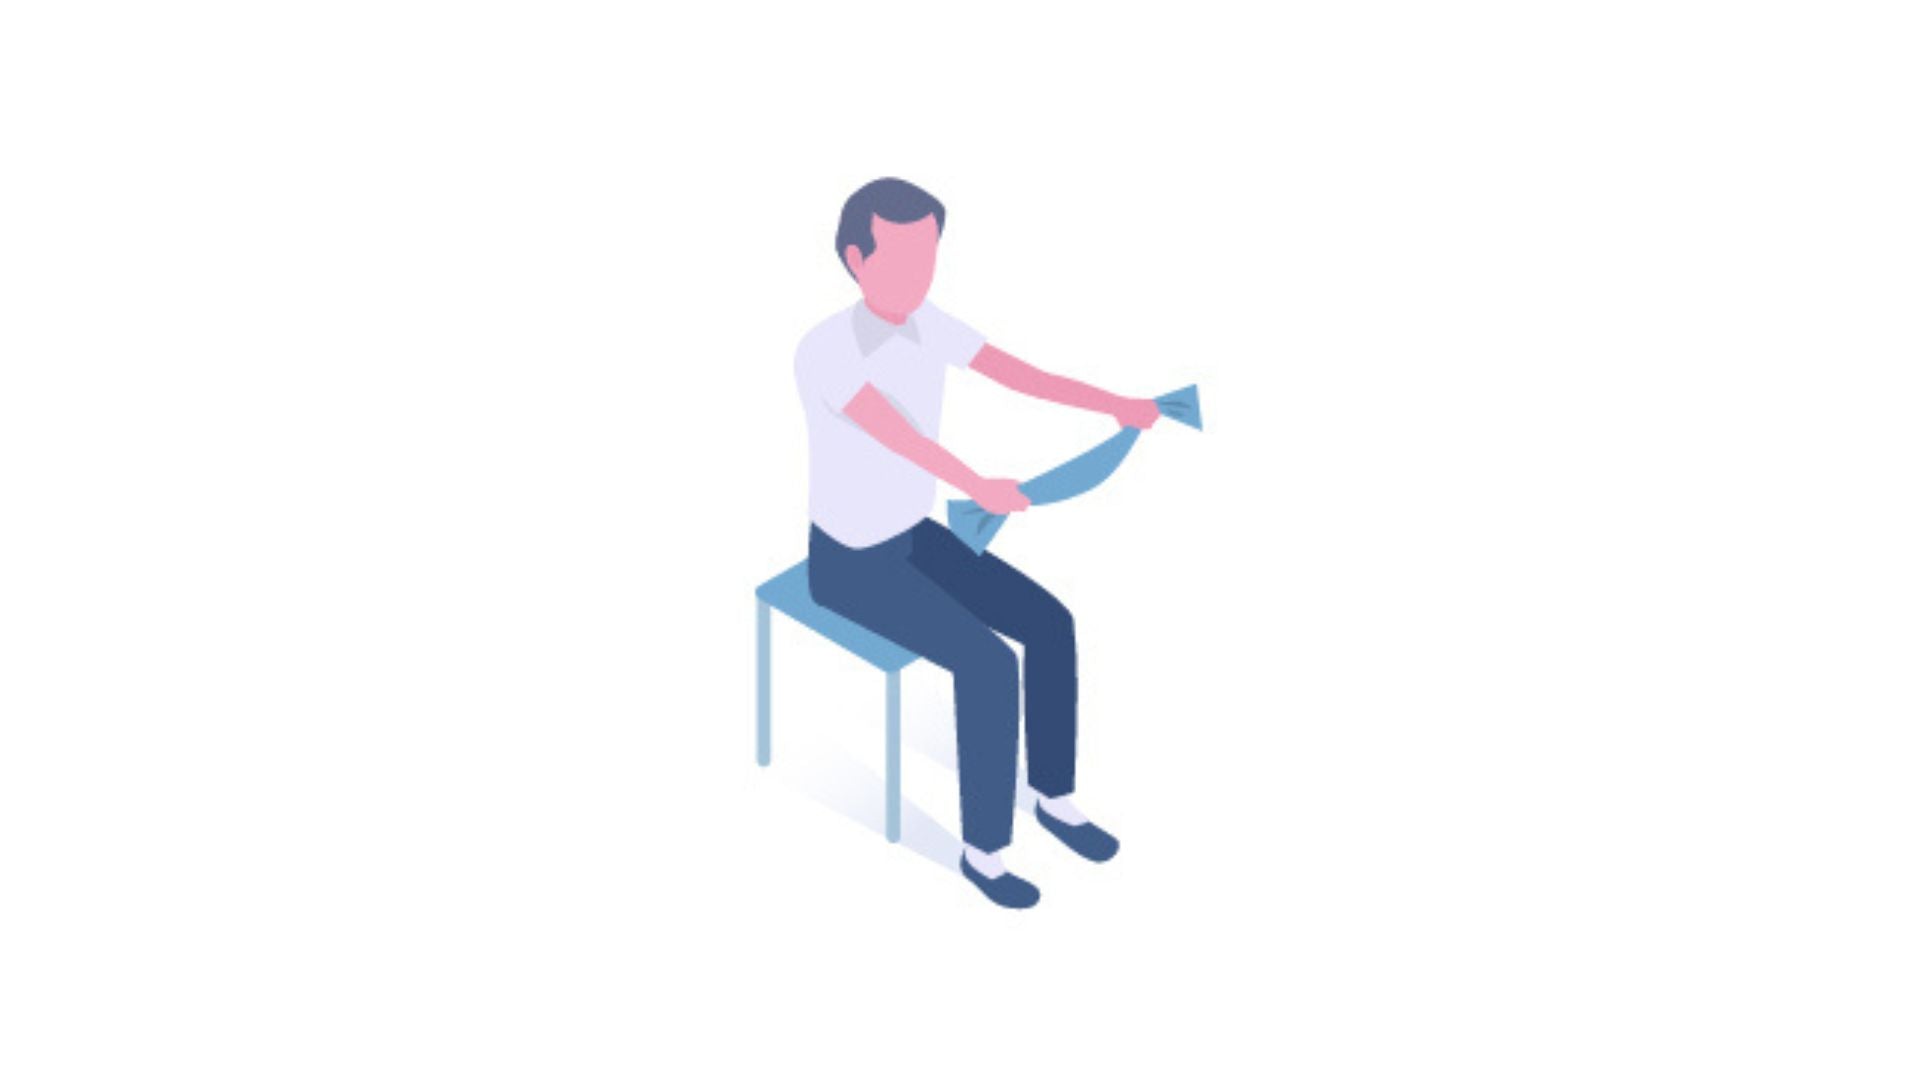
Towel rowing is a workout for your back muscles. Hold both ends of a towel in your hands and stretch it horizontally over your head. With your back straight and arms extended, pull the towel toward your chest.
Keep your elbows tucked in along the sides of your body and remember to bring your shoulder blades together.
Workout #2: Pull-ups
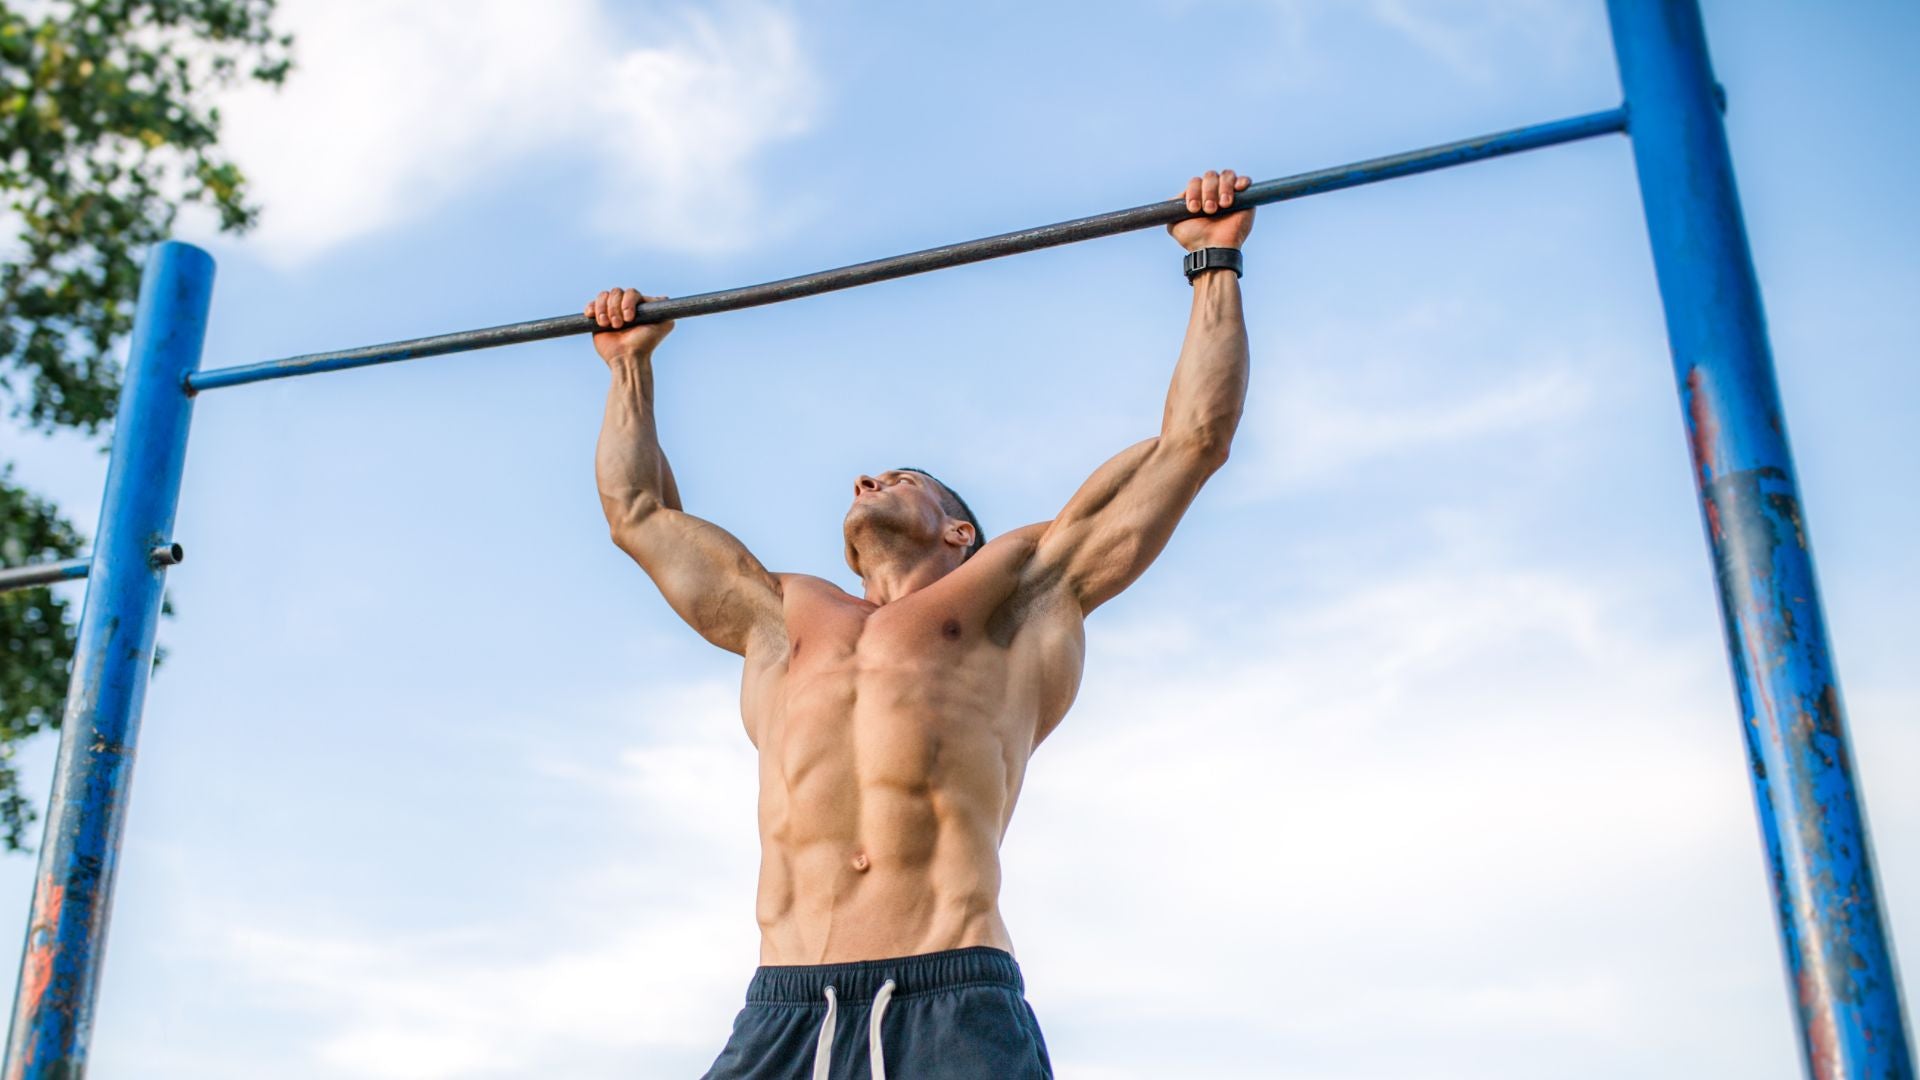
Pull-ups work the muscles of your back, arms, and shoulders. To do them at home, you'll need a place to hang from. Grab a bar with both hands, hands shoulder-width apart or wider. Lift yourself up from a fully extended arm position.
Lift your chin over the bar, then slowly fully extend your elbows.
Core training you can do at home
Here we will introduce exercises that can strengthen your core without any equipment. By broadly training your abdominal muscles, oblique abdominal muscles, and back muscles, you can strengthen your balance and inner muscles. It will also help you in your daily life by preventing back pain.
Abdominal muscle training menu
Here are some exercises that work your abdominal muscles, divided into different areas. By adding twists and movements, you can do more than just the usual abdominal exercises you might see in club activities.
Workout 1: Standing Abs
Standing Abs is a workout for your abdominal muscles while standing. Stand with your feet shoulder-width apart and your hands behind your head. Bend one knee and at the same time lower the opposite elbow toward your knee, applying pressure to your abdomen. Repeat this movement alternately.
Remember to keep your back straight. Standing Abs is an effective way to work your abdominal muscles without having to lie down on the floor.
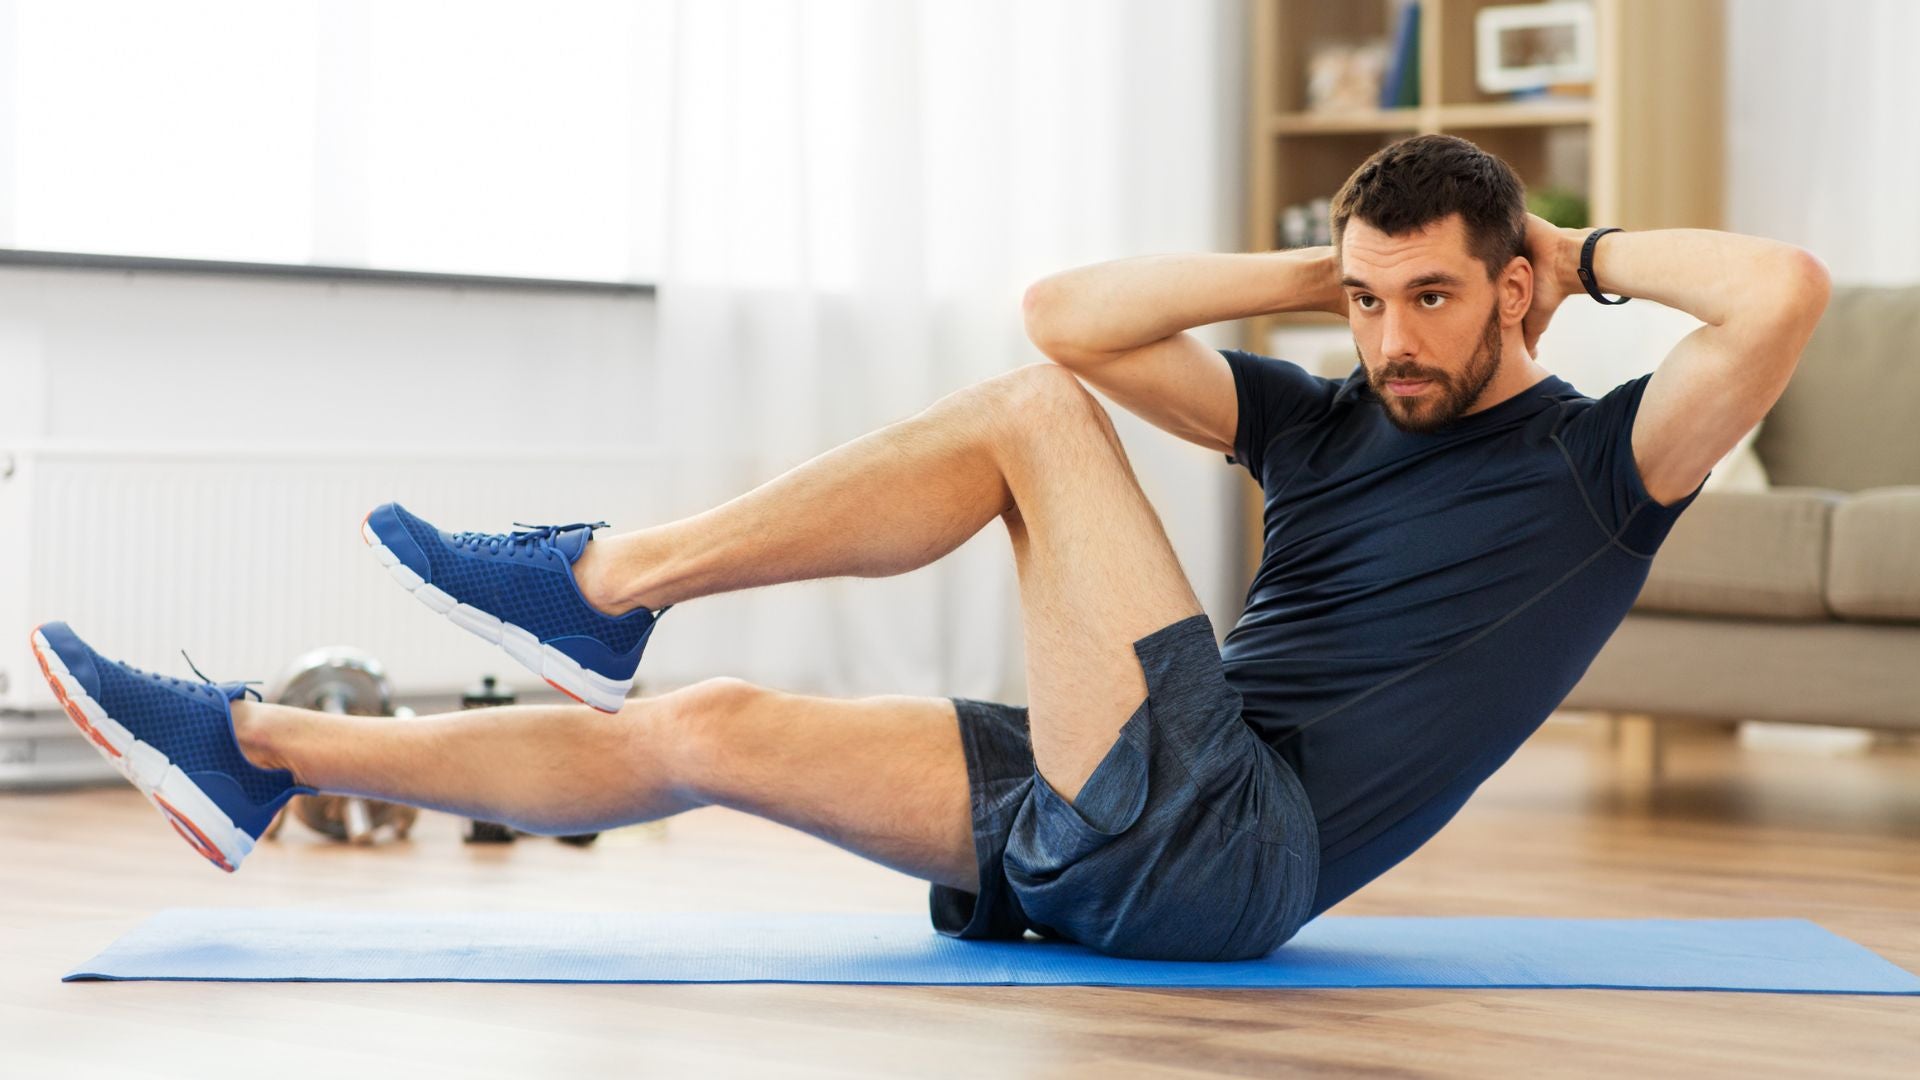
Workout #2: Bicycle crunches
Bicycle crunches are an effective way to train your entire abdominal muscles, especially your obliques. Lie on your back, place your hands behind your head, and bend your knees to lift your feet up. Alternately bring your opposite elbow and knee closer to each other while extending the other leg.
Twist your body so that your knees and elbows touch, then alternate as if pedaling a bicycle, making sure your back doesn't leave the floor too far, and repeat with control rather than quickness.
Workout #3: Twist Crunch
Twist crunches are also a great way to target the obliques. Lie on your back with your back on the floor, bend your knees and place your feet on the floor. Place your hands behind your head and twist your torso, lifting your shoulder blades off the floor.
Twist your left elbow and right knee toward each other, pause for a second or two, then slowly return to starting position, alternating between sides.
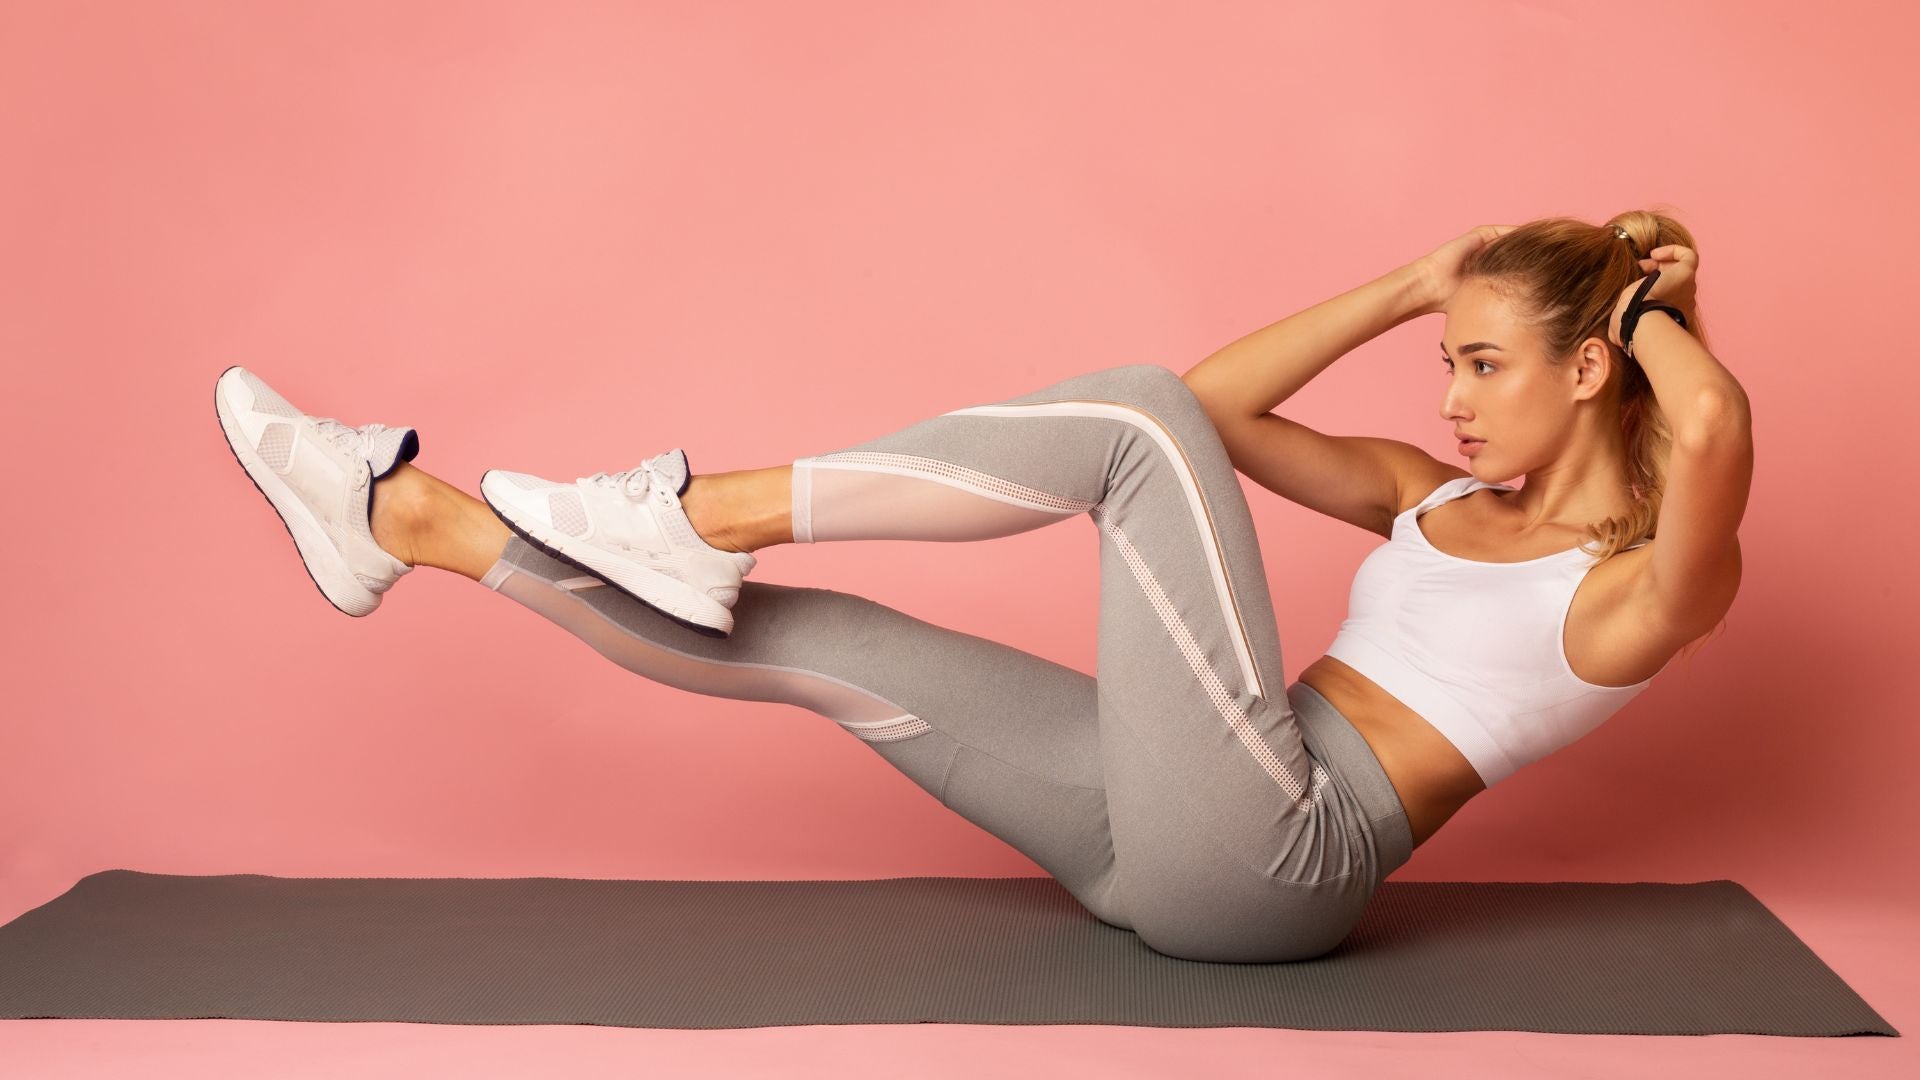
Exercise 4: Leg raises
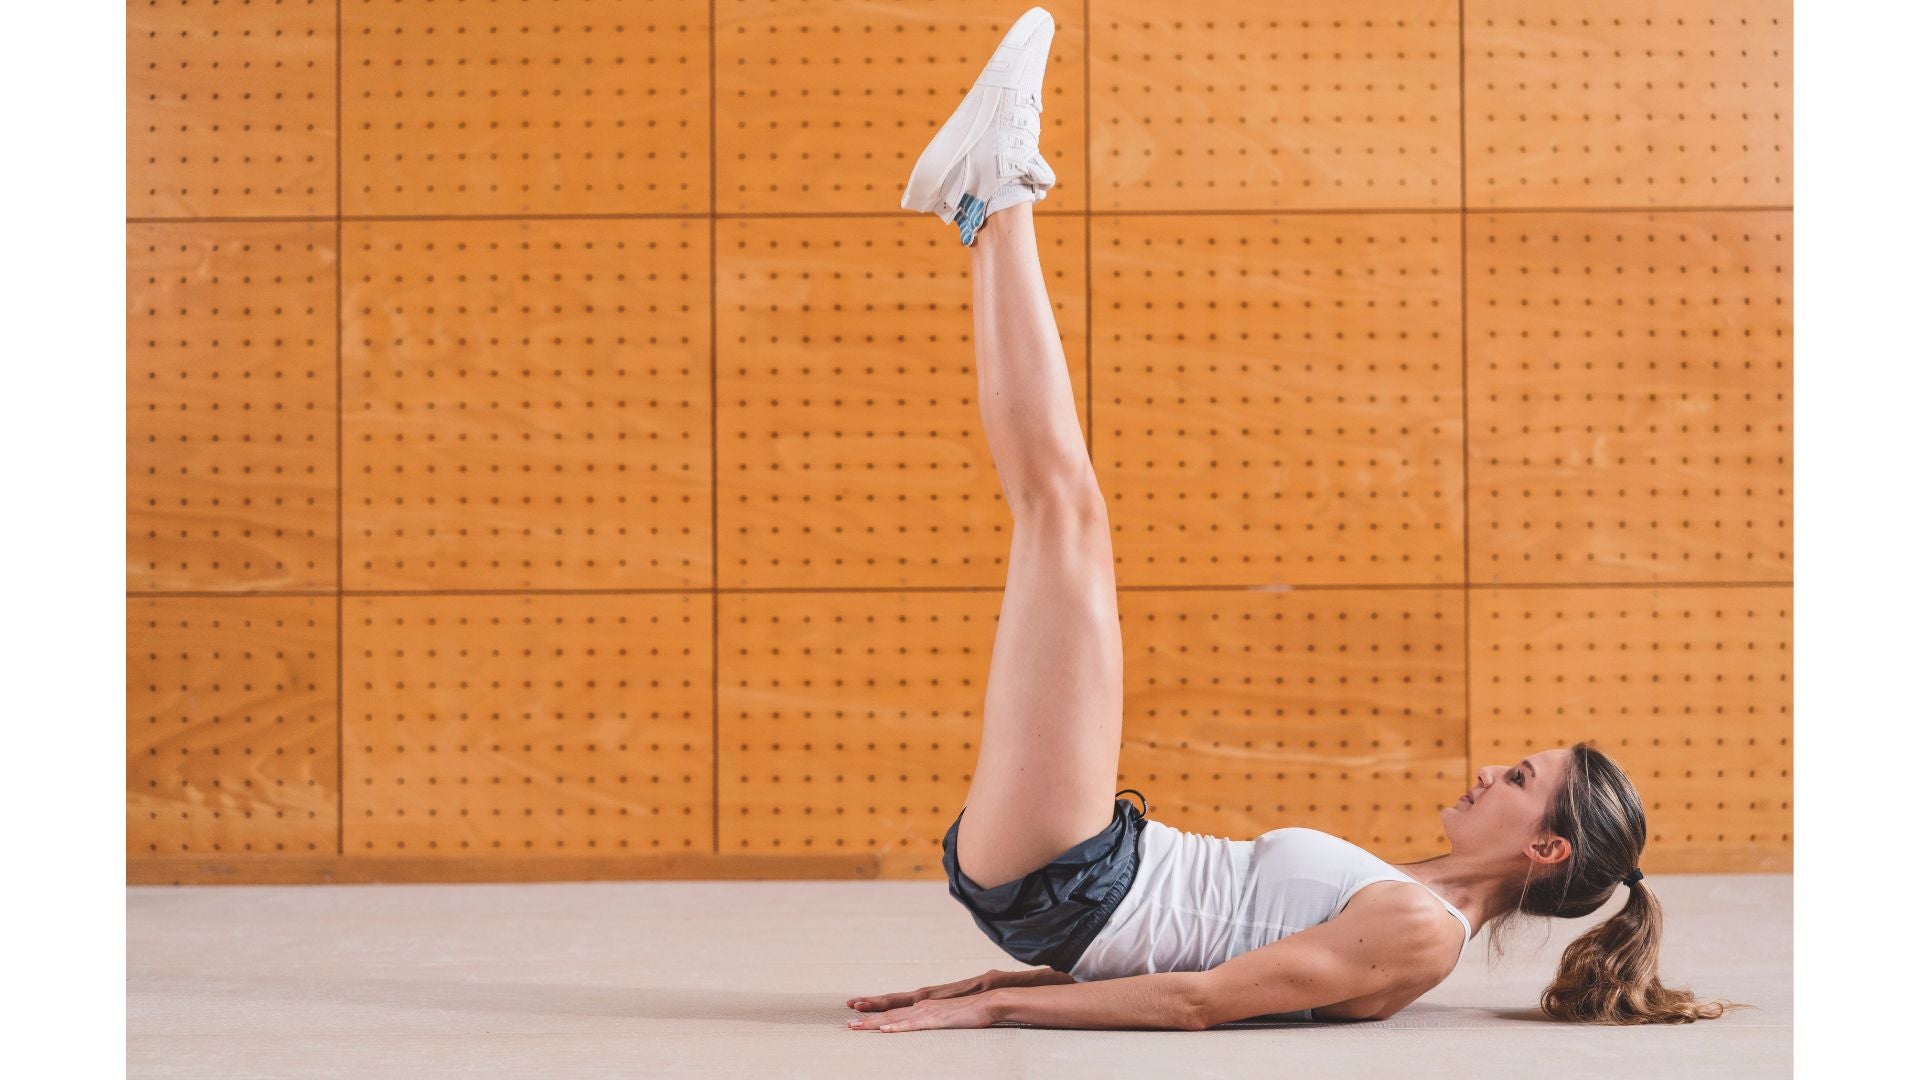
Leg raises are a great exercise to target your lower abdominal muscles. Lie on your back with your arms at your sides. Extend your legs straight and slowly lift your feet off the floor. When your feet are at about 90 degrees from the ground, pause briefly.
On the way back down, slowly return your legs to the starting position, making sure your hips do not leave the floor and your back is flat.
Plank-style core training menu
When it comes to core training without equipment, the plank is the best. It's all about supporting your weight with your core. It's a tough exercise, but try your best and gradually increase the time.
Exercise 1: Plank
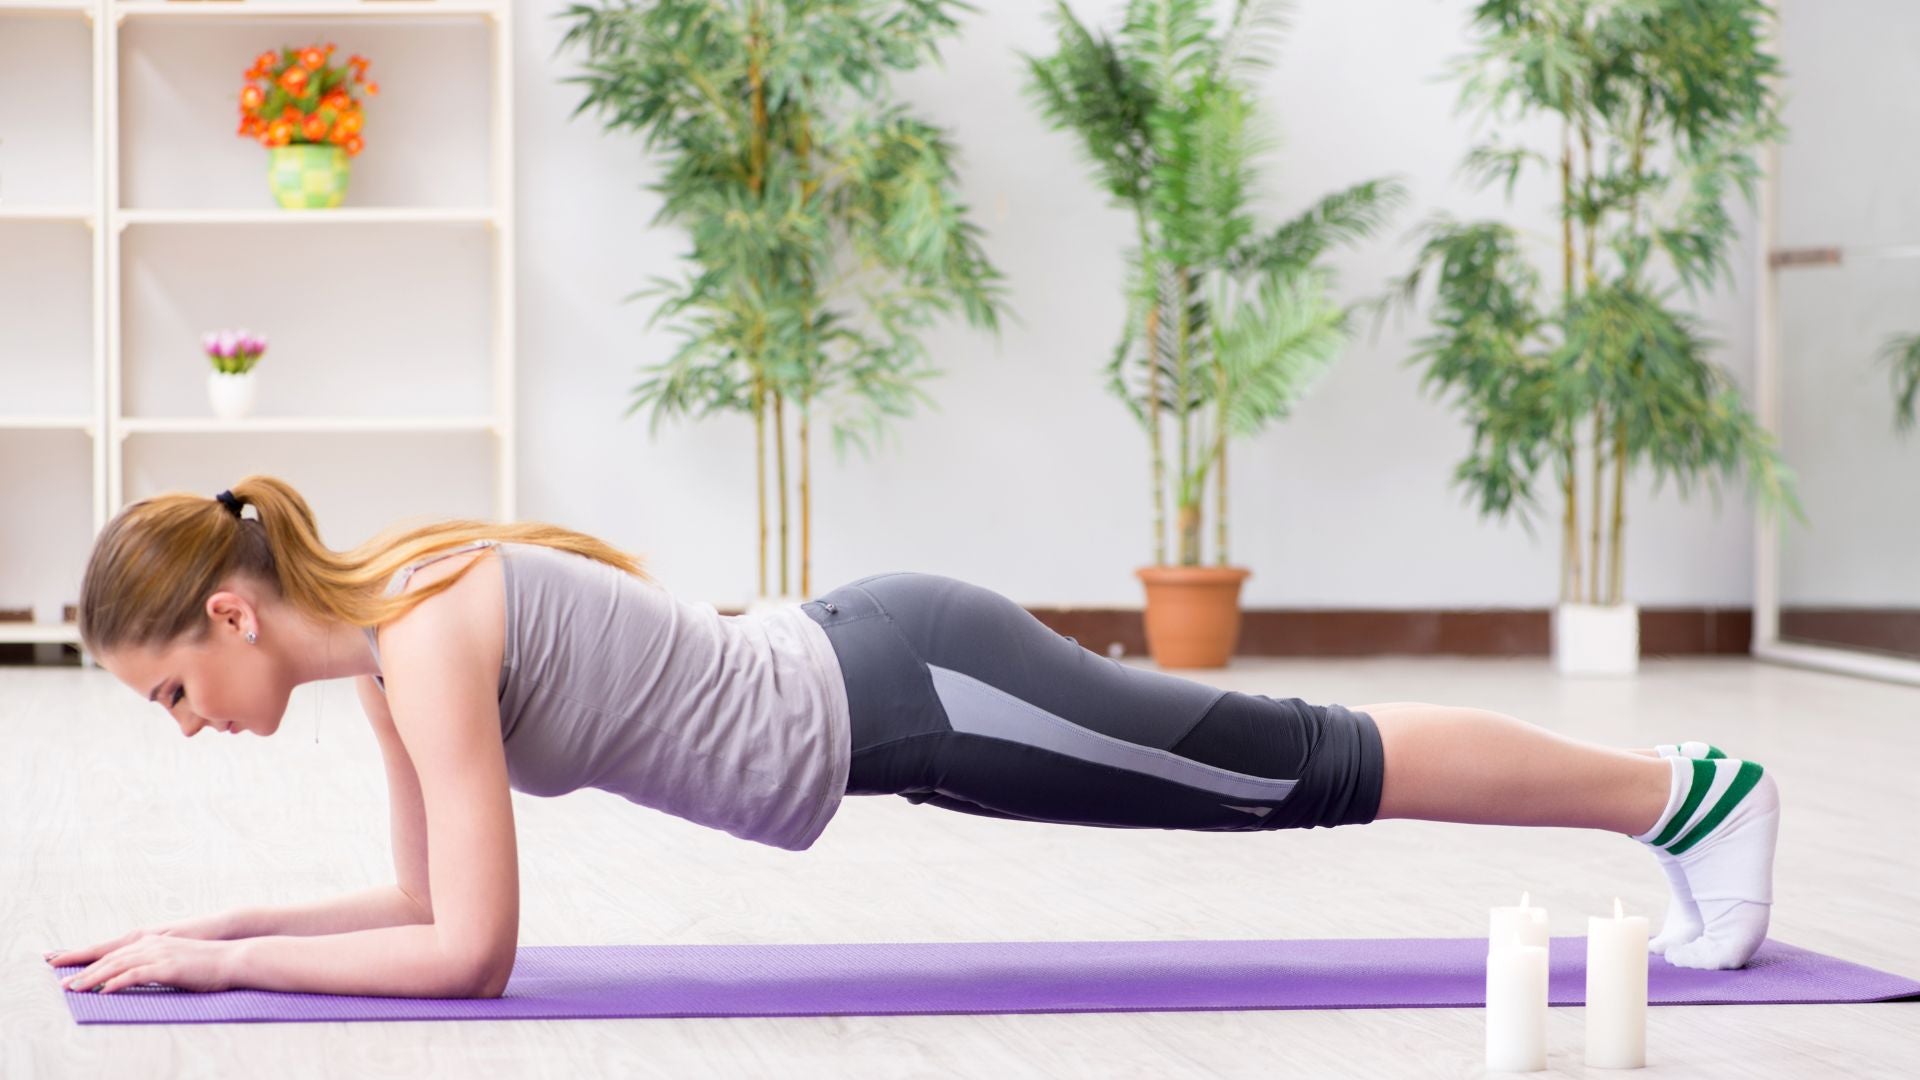
Planks are a basic exercise that will work your entire core muscles. Place your body flat on the floor, face down, with your elbows directly under your shoulders, and your legs extended and your weight supported on your toes.
Keep your whole body in a straight line. From your head to your heels, make a straight line, and keep your abdominal muscles tight at all times. Be careful not to let your hips move up and down, and keep this position for the duration of the menu.
Exercise 2: Side plank
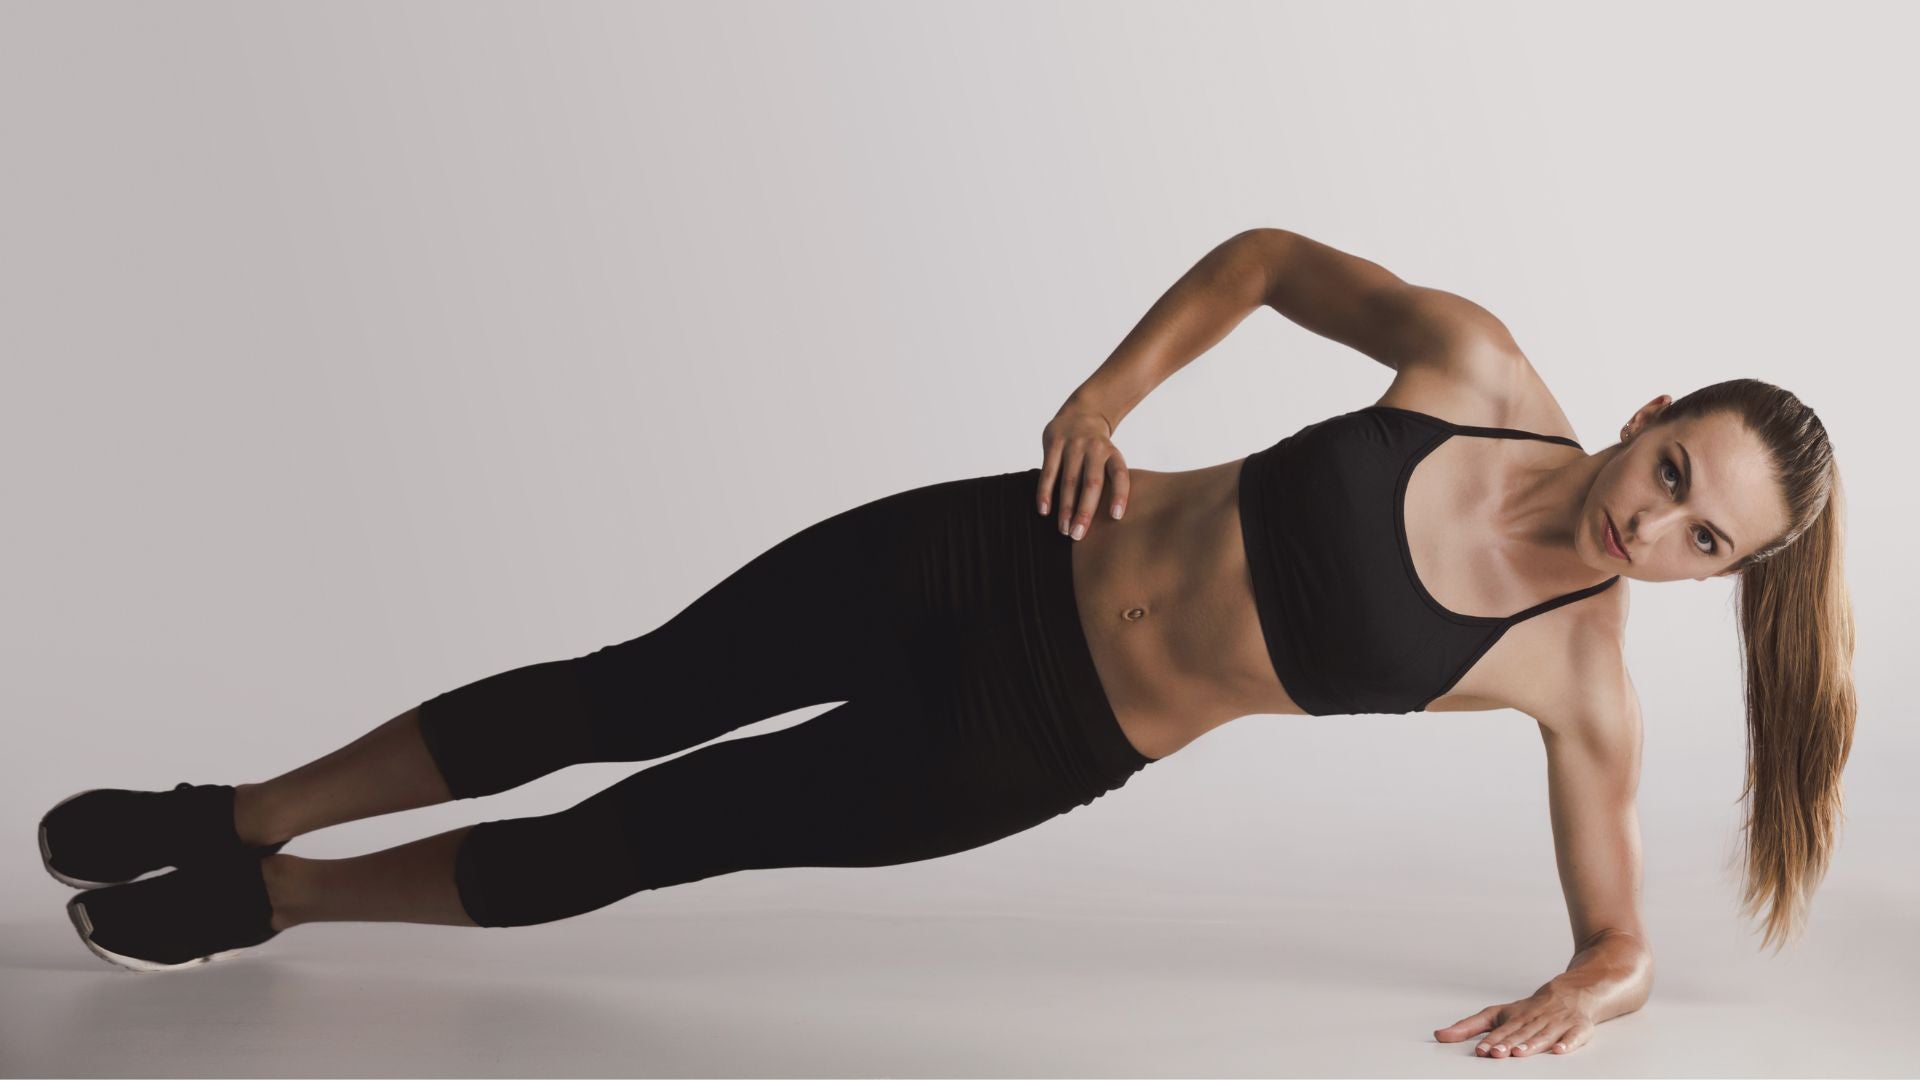
Side planks work the lateral core and obliques. Lie on one side with one arm supporting your body and that foot on the ground. Place the other foot on top of the other or in front of or behind it for balance.
Keep your elbows directly under your shoulders and keep your body in a straight line. Maintain this position for the duration of the exercise. Side planks work not only the sides of your abdomen, but also the muscles around your lower back.
Exercise 3: Reverse plank
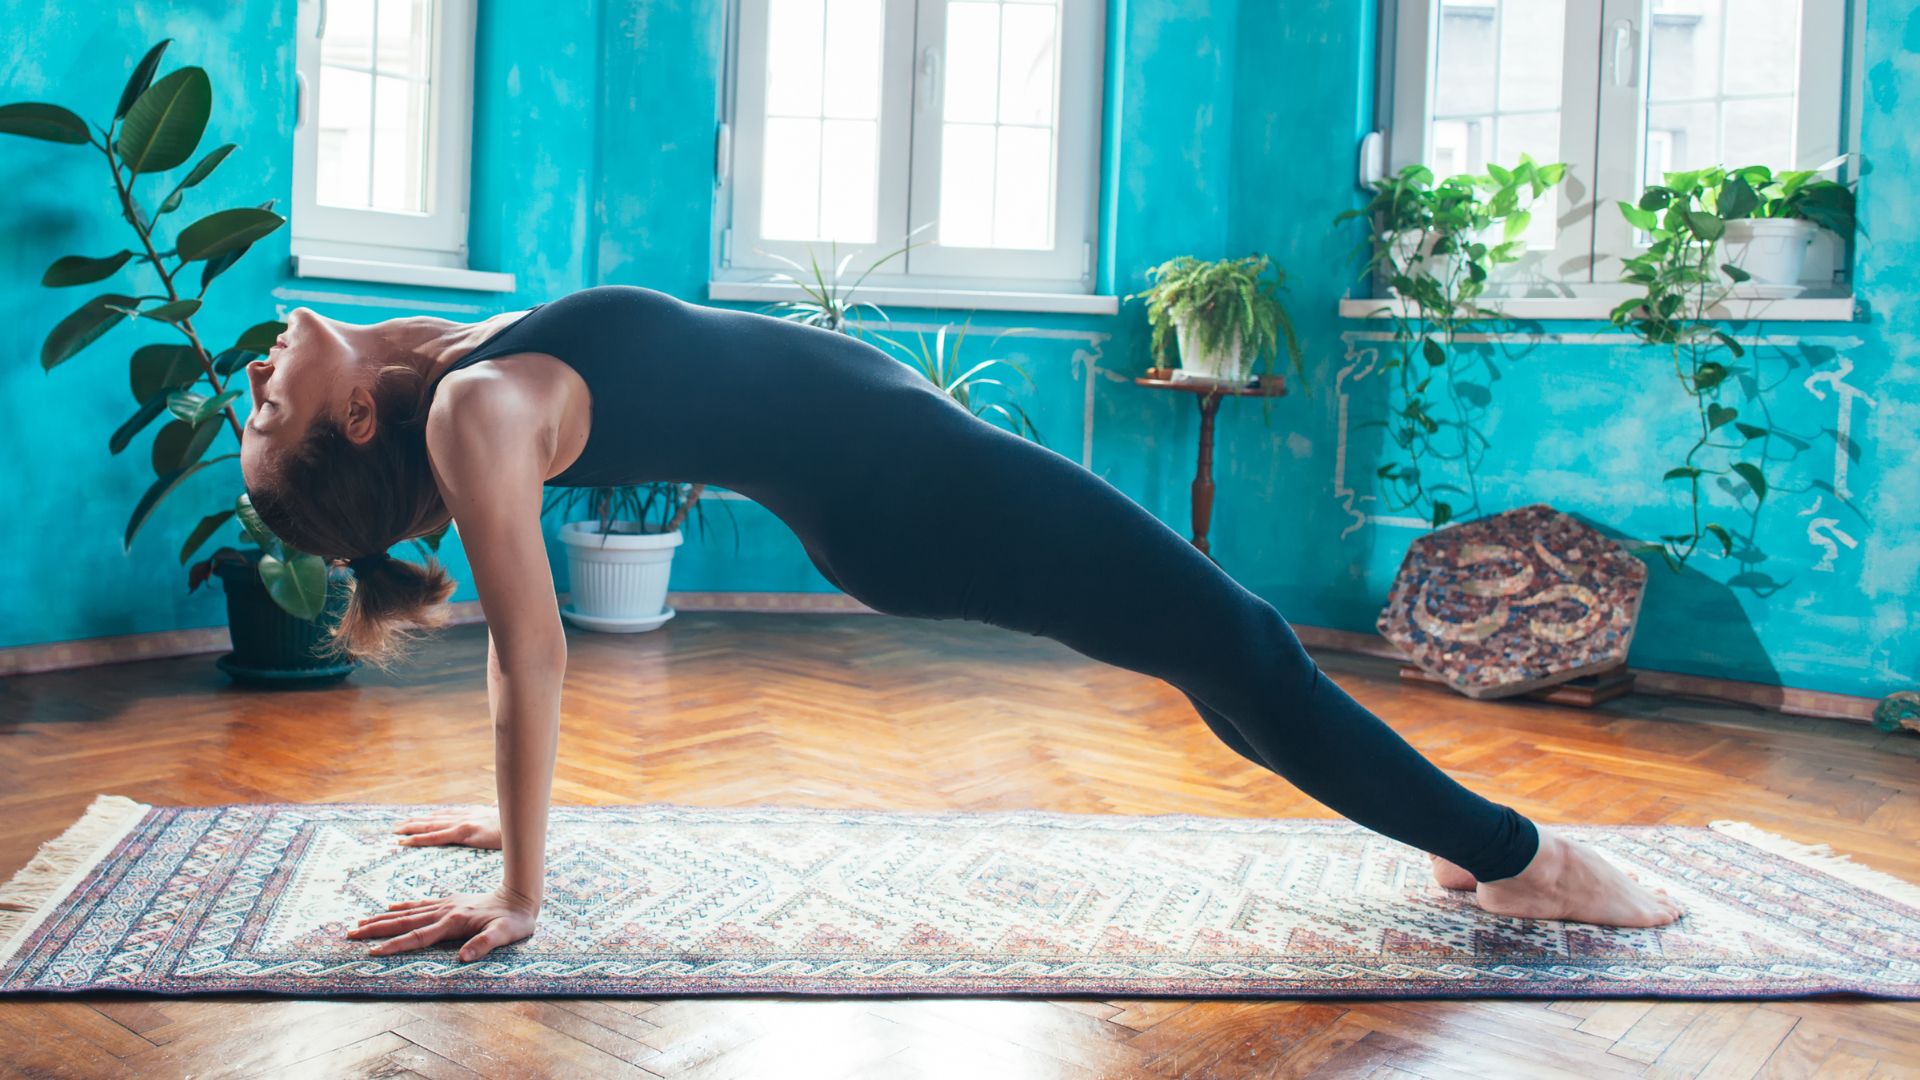
Reverse planks are a workout that primarily targets your back, abs, buttocks, and hamstrings. From a seated position, place your hands behind your back with your fingers pointing toward your body. Extend your legs and arms to raise your body so that your heels form a straight line from your shoulders to your sides, and hold that position for the duration of the workout.
The key is to not hold your breath and not move your body away.
Other core strengthening exercises
In fact, deep breathing and stretching also have the effect of strengthening the core. By incorporating these exercises between your workouts, you can strengthen your muscles while loosening up your body.
Training 1: Drawing
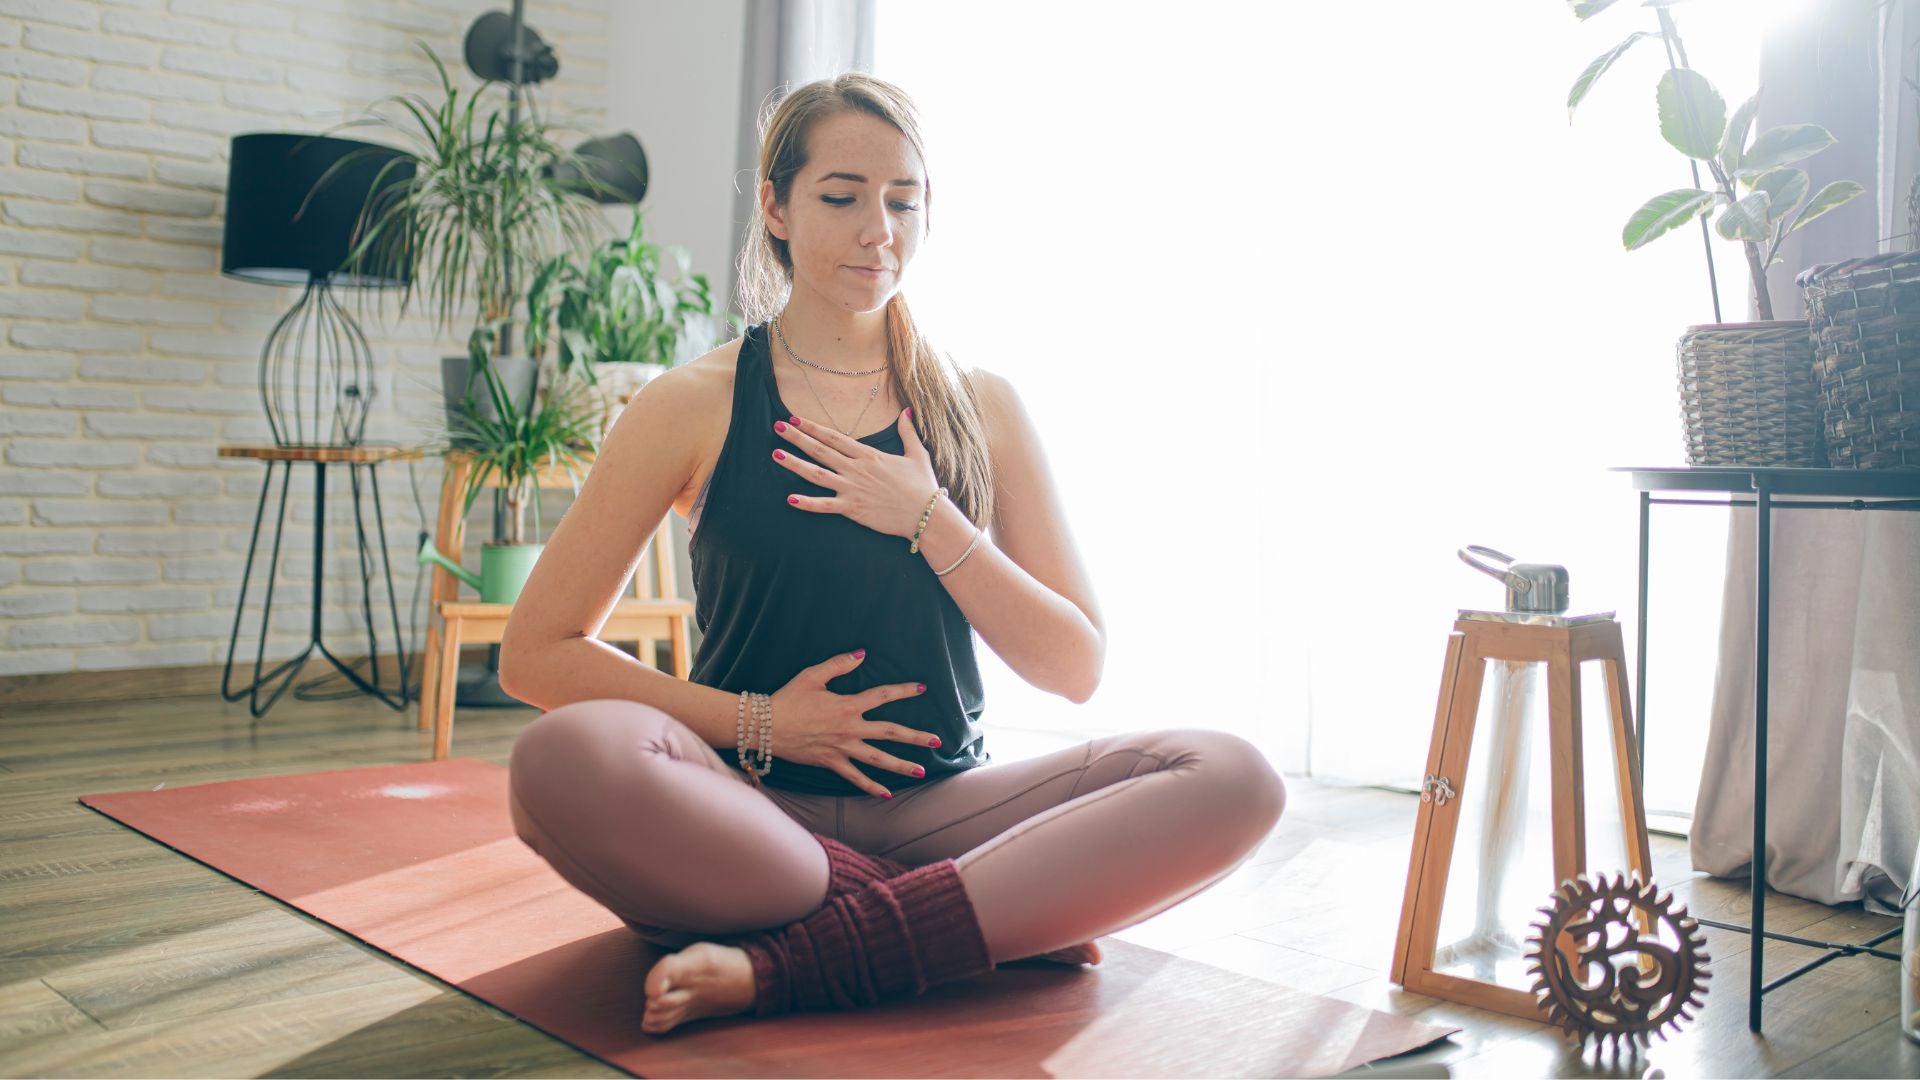
Drawing is a menu for training the inner muscles, especially the transverse abdominis. Sit in a relaxed position and take a deep breath. When you have inhaled deeply, breathe in deeply and fill your chest, and then slowly draw your stomach in toward your spine as you exhale.
Keep the drawing motion going for 2-3 seconds without holding your breath. Then, breathe in while naturally relaxing your stomach. Drawing targets the internal muscles rather than the superficial abdominal muscles, so it is effective in improving the stability of the core.
Workout 2: Pike press (shoulders, abs)
The pike press primarily targets the shoulders, triceps, and core muscles. Start by placing your body in a V shape with your hands and feet on the ground. Place your hands slightly wider than shoulder width apart, feet shoulder width apart, and lift your hips high.
From this position, bend your elbows and slowly lower your head towards the ground, then straighten your arms to return to the original V. The bike press is a variation of the push-up that really challenges your shoulder muscles.
A one-week menu of daily home workouts
Try training for a week using the variations of the training introduced in this article. This is a high-intensity menu that you can do without a gym. If you are serious about getting into shape, be sure to check it out.
Allow 30 seconds to 1 minute of rest between each menu.
Day 1: Lower Body & Core
On the first day, you will focus on training the lower body, which has large muscles, and the core, which has muscles that support the entire body.
- Squats - 20 reps
- Wide Squats - 20 reps
- Calf Raises - 25 reps
- One-Leg Hip Lifts - 15 reps (each leg)
- Plank - 60 seconds
- Side Plank - 30 seconds each side
- Leg Raises - 20 reps
- Drawing - 60 seconds
- Glute Bridges - 20 reps
When squatting, be careful not to let your knees go out in front of your toes, and make sure your knees don't go inward. The key to plank exercises is to keep your back straight.
Day 2: Upper body (chest and shoulders)
On the second day, we will focus on training the upper body, which we did not touch much on the first day. Always breathe and try to move slowly.
- Push-ups - 20
- Hindu Push Ups - 15
- Decline Push-ups - 15 reps
- Diamond Push Ups - 12 reps
- Reverse Plank - 60 seconds
- Pike Press - 15 reps
- Towel Rowing - 20 reps
- Side Plank - 30 seconds each side
- Plank - 60 seconds
Hindu push-ups and pike presses are effective when you work the arms and shoulders in unison. By being aware of this interlocking, you can train more muscles at the same time.
Day 3: Core & Flexibility
On the third day, you will combine a menu that gradually trains your core with a menu that focuses on your body's flexibility. Pay attention to your form and the parts of your body you are training.
- Plank - 60 seconds
- Side Plank - 30 seconds each side
- Reverse Plank - 60 seconds
- Drawing - 60 seconds
- Bicycle Crunch - 20 reps
- Twist Crunch - 20 reps (1 on each side)
- Leg Raises - 20 reps
- Standing Abs - 20 reps
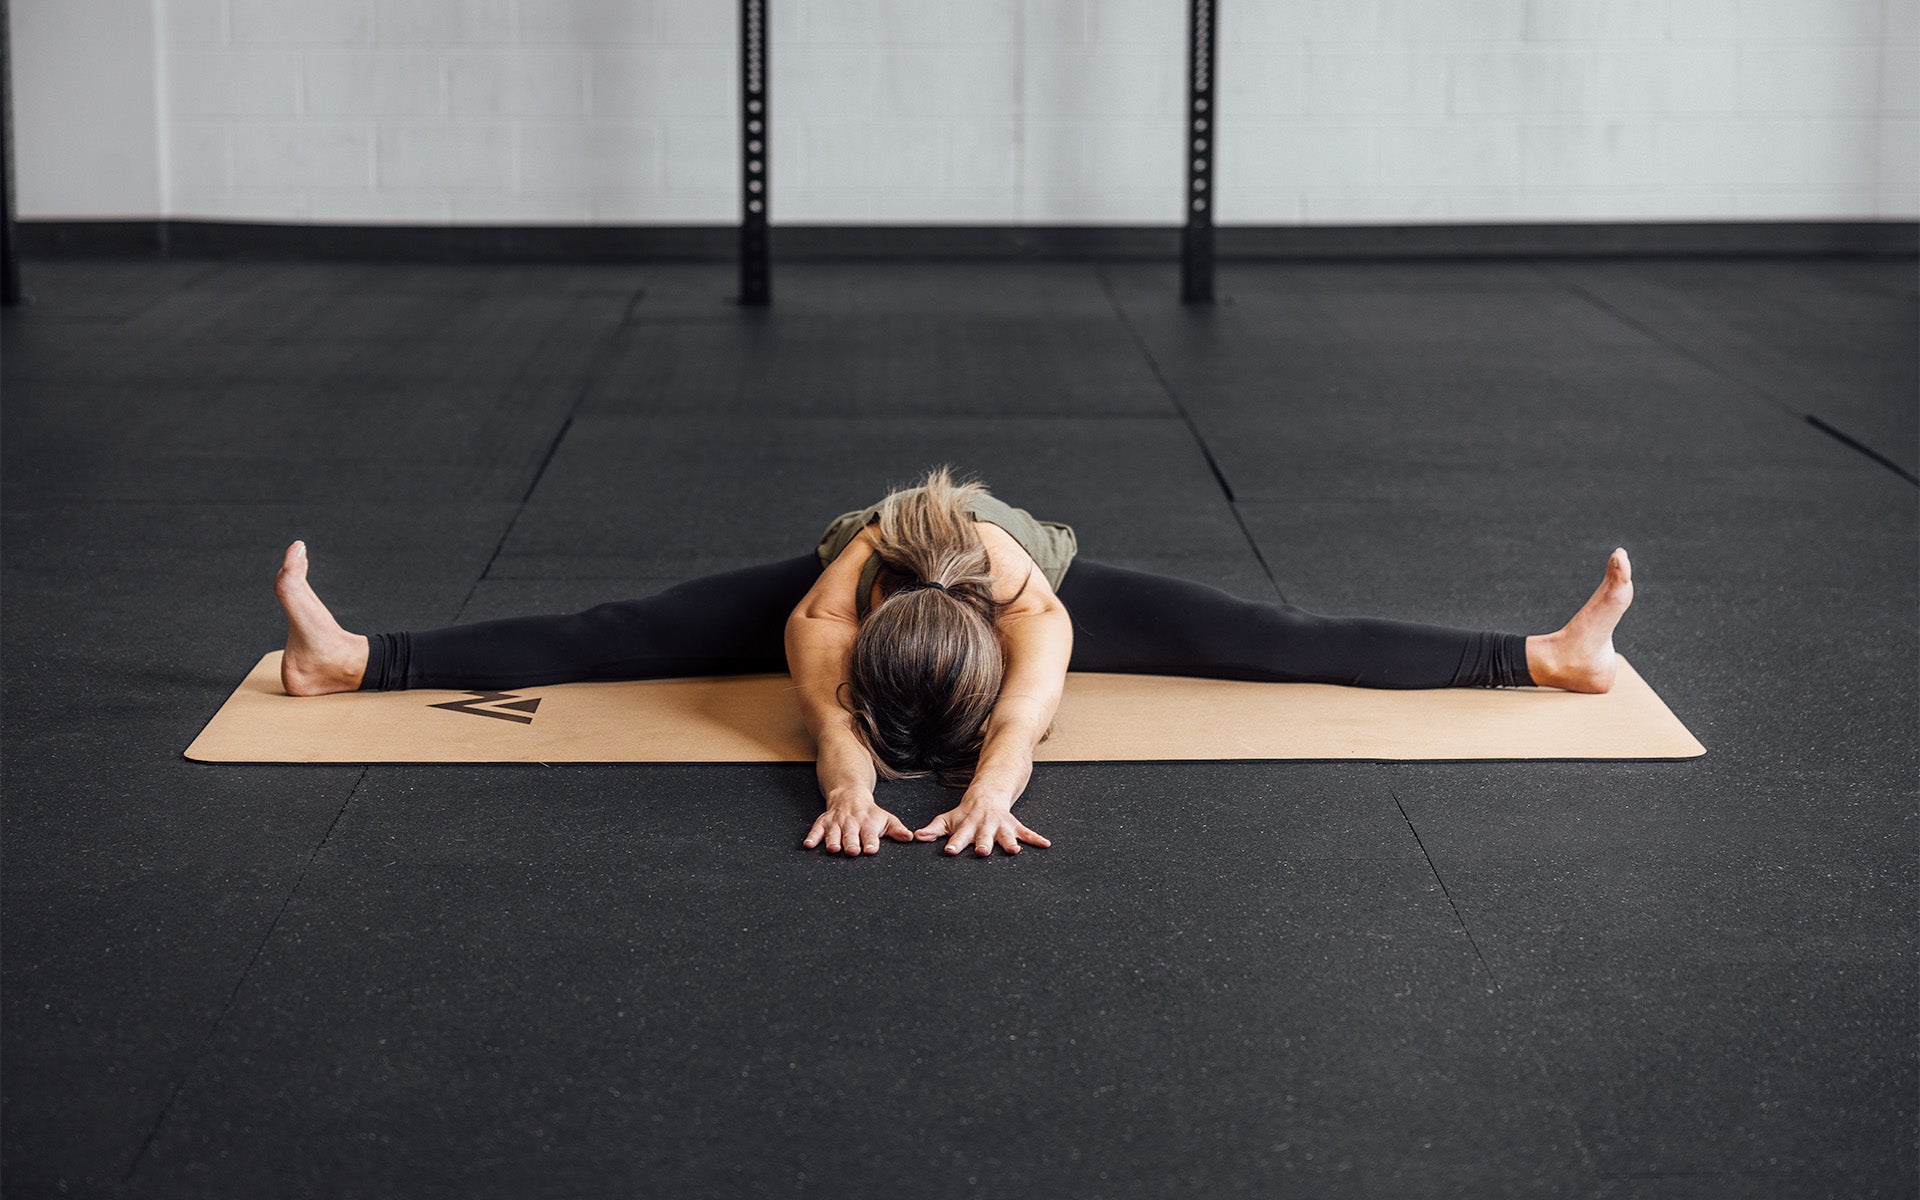
- Split Stretch - 60 seconds
Although the split stretch is not a muscle training routine, it also promotes blood circulation, so it is effective in improving the efficiency of your training. Take a deep breath and loosen up your body.
Day 4: Lower body (focus)
On the fourth day, the menu will include more squat exercises. In order to increase the load, try to move slowly rather than focusing on doing more repetitions.
- Split Squats - 15 reps (each leg)
- Sumo Squats - 20 reps
- Wall Squats - 60 seconds
- Drop Lunges - 15 reps each leg
- Reverse Lunges - 15 reps each leg
- Calf Raises - 25 reps
- One-Leg Hip Lifts - 15 reps (each leg)
- Hip Abduction - 20 reps (each leg)
- Glute Bridges - 20 reps
When performing exercises such as the One-Leg Hip Lift, in which you lie on your back, be careful not to arch your hips and back too much.
Day 5: Upper body (back and arms)
Day 5 is a heavy upper body and arm workout. When doing push-ups, pay attention to form rather than speed.
- Pull-ups - 10
- Decline Push-ups - 15 reps
- Towel Rowing - 20 reps
- Reverse Push Ups - 15
- Diamond Push Ups - 12 reps
- Hindu Push Ups - 15
- Plank - 60 seconds
- Side Plank - 30 seconds each side
- Reverse Plank - 60 seconds
If you find it difficult to do pull-ups in a room environment, you can do push-ups instead. If possible, try to get your chin above the bar and do as many repetitions as you can.
Day 6: Core Strength
Day 6 is the day to strengthen your core. Train your inner muscles to gain versatile strength.
- Plank - 60 seconds
- Side Plank - 30 seconds each side
- Reverse Plank - 60 seconds
- Drawing - 60 seconds
- Bicycle Crunch - 20 reps
- Twist Crunch - 20 reps (1 on each side)
- Leg Raises - 20 reps
- Standing Abs - 20 reps
- Pike Press - 15 reps
On the sixth day, you will feel a strong strain on the muscles around your stomach. Try not to get caught up in the thought, "This is hard!", but instead focus on the fact that a different part of your body is being stimulated each time.
Day 7: Full Body Recovery & Flexibility
The seventh day is an active rest day, and the purpose is to train while loosening up the body. Adjust the intensity to the extent that you feel relaxed.
- Split Stretch - 60 seconds
- Lunge Jumps - 15 reps
- Sumo Squats - 20 reps
- Plank - 60 seconds
- Leg Raises - 20 reps
- Glute Bridges - 20 reps
- Towel Rowing - 20 reps
- Side Plank - 30 seconds each side
- Drawing - 60 seconds
This is the end of your training for the week. If you feel like you have time, you can increase the load by increasing the time you hold the plank, etc.
Tips for doing self-weight training at home
Bodyweight training is an effective way to get the ideal body. Finally, we will introduce five points you need to keep in mind to truly change your body shape through the menu introduced in this article.
Tip 1: Keep going
The important thing about training is to continue. Incorporate muscle training into your schedule and make it a routine. Muscles will weaken if you don't use them. Think about how to keep yourself motivated so that you don't lose muscle strength.
There are many ways to increase your motivation, such as rewarding yourself or going to the gym occasionally. Decide how to do it based on your personality.
Point 2: Create a menu with the area you want to train in mind
Let's train in a balanced way by changing the parts of the body that you train every day. Muscles get damaged by training and get bigger by recovering. When you train at home, there is no one around you doing other menus, so you tend to focus on only a few menus.
Unbalanced training will make muscle building less efficient. Be aware of which parts of your body you are training and which parts you are resting.
Tip 3: Use proper form
When training, pay attention to form rather than repetitions or speed. Correct form puts stress on the muscles while making it less likely to cause injury. If you do repetitions with incorrect form because you don't have time, it will not be effective in strengthening your muscles and may increase your risk of injury.
To avoid forming bad habits, first get your body used to the correct form.
Tip 4: Do it slowly
Muscle training is harder and more effective when done slowly. The goal is not to do the number of repetitions, but to work out. Move your body while feeling that the targeted muscles are being trained.
To make sure you're working the targeted areas, it's important to move slowly and take the time to notice your muscles' screams.
Tip 5: Increase the load by increasing the number of repetitions
Bodyweight training is less stressful than weight training, so you need to increase the total load through repetitions. Take an interval of 30 seconds to 1 minute between each exercise, and work on it for longer than you would with weight training.
To avoid getting bored even if you increase the number of times, you can also increase the number of menus you do in a day and shorten the time per menu.
Get in shape with a wide variety of bodyweight exercises!
Most bodyweight training can be done with just your body and the floor. If you want to get the body you want, why not start with bodyweight training that doesn't require any equipment?
Also, when you train, having a stable mat on which to stand will greatly increase your efficiency and intensity. If you want to get into shape, we recommend that you consider a high-quality gym mat.